# Developing a Plug-In
Before developing a plug-in, read Mini Program Plug-In Access Guide to understand the plug-in enabling process and applicable scope, and enable the plug-in feature accordingly. The plug-in cannot be uploaded if the plug-in feature is disabled.
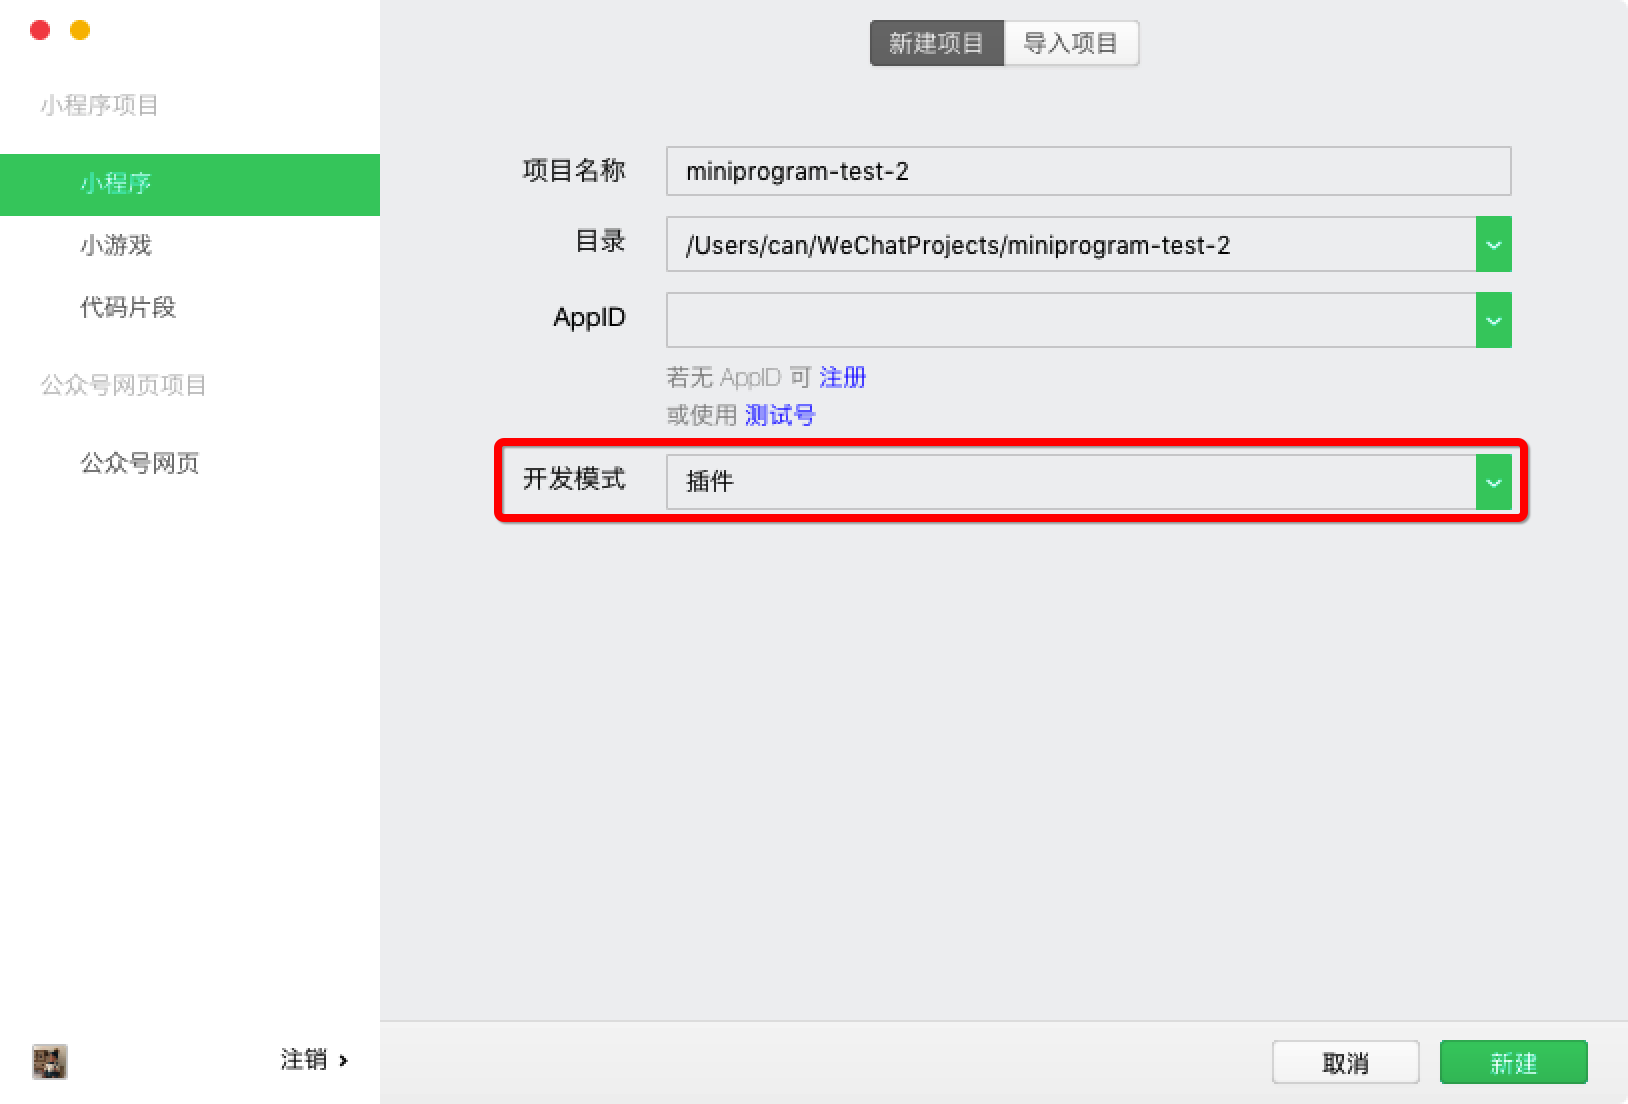
# Creating a Plug-In Project
You can directly create a plug-in project via the Weixin DevTools. For details, see Details.
If a sample project is created after the creation of the plug-in project, the project will contain three directories:
plugin: Stores plug-in code.miniprogram: Stores a Mini Program for debugging the plug-in.doc: Stores plug-in development documents.
You can write the miniprogram directory content for plugin debugging, previewing, and verification just as you write a normal Mini Program. The following mainly describes the plug-in code in plugin and the plug-in development documents in doc.
We have provided a complete plugin sample that is available to view in Weixin DevTools. Developers can check it against this document for better understanding. Notes:
- Enter an appid which is required for plug-ins to function.
- Due to limits on the code fragment, enter appid in miniprogram/app.json (as show below) manually after opening the sample to make the sample function properly.
# Plug-In Directory Structure
A plug-in can contain several custom components, pages and a set of JS APIs. The directory of the plug-in is as follows:
plugin
├── components
│   ├── hello-component.js   // One or more custom components provided by the plug-in
│   ├── hello-component.json
│   ├── hello-component.wxml
│   └── hello-component.wxss
├── pages
│   ├── hello-page.js        // One or more pages provided by the plug-in (supported as of the Mini Program base library version 2.1.0)
│   ├── hello-page.json
│   ├── hello-page.wxml
│   └── hello-page.wxss
├── index.js                 // JS APIs of the plug-in
└── plugin.json              // Configuration file of the plug-in
# Configuration File of the Plug-In
All custom components, pages, and JS APIs open to third-party Mini Programs must be listed in the plug-in configuration file plugin.json in the following format:
Code example:
{
  "publicComponents": {
    "hello-component": "components/hello-component"
  },
  "pages": {
    "hello-page": "pages/hello-page"
  },
  "main": "index.js"
}
The custom component hello-component, the page hello-page, and all JS APIs exported from index.js are open to third-party Mini Programs via this configuration file.
# Plug-in Development
Note: During plug-in development, only Some APIs can be directly called, and some capabilities (such as obtaining user information and initiating payment) can be used via Feature Page of Plug-Ins.
# Custom Component
A plug-in can define several custom components that can be cross-referenced by each other within the plug-in. In addition, custom components provided for third-party Mini Programs must be listed in the configuration file (see above).
Except for restrictions on APIs, custom components are written and organized in the same way as common custom components. Each custom component consists of wxml, wxss, js, and json files. For details, see Documentation of Custom Components.
# Pages
Pages are supported in plug-ins as of the Mini Program base library 2.1.0. A plug-in can define several plug-in pages that can be redirected from a custom component or other pages of the plug-in or from third-party Mini Programs. Pages that can be redirected from third-party Mini Programs must be listed in the configuration file (see above).
Except for restrictions on APIs, plug-in pages are written and organized in the same way as common pages. Each page consists of wxml, wxss, js, and json files. For details, refer to other documentation about pages.
A plug-in can redirect a page by using the navigator component. When a plug-in is redirected to its own page, url should be set to a value in the following format: plugin-private://PLUGIN_APPID/PATH/TO/PAGE. You can also set url to a value in this format when the plug-in needs to be redirected to another plug-in.
Code example:
<navigator url="plugin-private://wxidxxxxxxxxxxxxxx/pages/hello-page">
  Go to pages/hello-page!
</navigator>
As of the base library2.2.2, a plug-in can also redirect its own pages via wx.navigateTo. The value of url is in the format similar to that of url when the navigator component is used.
# APIs
A plug-in can export some JS APIs from API files (specified in the configuration file. For details, see above), so that plug-in users can call the JS APIs. For example:
Code example:
module.exports = {
  hello: function() {
    console.log('Hello plugin!')
  }
}
# Preview, Upload, and Release
A plug-in can be previewed and uploaded as a Mini Program. However, the plug-in does not have a test version.
A plug-in may have multiple online versions at a same time. The Mini Program using the plug-in determines the plug-in version to be used.
When a plug-in is previewed and reviewed on a mobile phone, a special Mini Program is used to replace a Mini Program in the miniprogram folder of the plug-in project, to preview the plug-in.
*(Recommended) If the current developer has a test account, the test account is used for review. On the setting page for the test account, you can view appid and appsecret of the test account, and set the domain name list.
- Otherwise, the "Plug-in Development Assistant" with a specific
appidis used.
# Plug-In Development Document
Plug-in code is invisible to a third-party Mini Program that uses the plug-in. Therefore, in addition to plug-in code, a plug-in developer can also upload a plug-in development document. This development document will be displayed on the plug-in details page for other developers to read and refer to when they are browsing and using the plug-in. Plug-in developers should provide necessary description and explanation about custom components, pages, APIs, and the like along with the plug-in in the plug-in development document, so that the plug-in can be correctly used in third-party Mini Programs.
A plug-in development document must be stored in the doc directory of the root directory of a plug-in project with the structure as follows:
doc
├── README.md   // Plug-in document in Markdown format
└── picture.jpg // Other resource files. Only images are supported.
The compilation of README.md is subject to some restrictions. Specifically:
- Referenced image resources cannot be Internet images and must be placed in the directory;
- Links in the document can only go to:
- Weixin Developers Community (developers.weixin.qq.com)
- Weixin Official Accounts Platform (mp.weixin.qq.com)
- GitHub (github.com)
After editing README.md, you can open it in the Weixin DevTools, and preview and upload a plugin document in the lower right corner of the editor. The plug-in document will not be released immediately after being uploaded. You can log in to the Admin Console with your account name and password, and preview and release the plug-in document in Mini Program Plug-In > Basic Settings.
# Other Notes
# Calling Between Plug-Ins
A plug-in cannot be directly referenced by another plug-in. However, if multiple plug-ins are referenced by a Mini Program, the plug-ins can call each other.
A method for calling a plug-in by another plug-in is similar to a method for calling a plug-in by the plug-in itself. You can access custom components and pages of a plug-in via plugin-private://APPID (plugin:// is currently not supported), and access JS APIs of the plug-in via requirePlugin.
# Plug-In Request Signature
When a plug-in sends a network request via APIs such as wx.request, the request will additionally carry a signature HostSign to verify that the request is originated from a Mini Program plug-in. This signature is located in the request header and looks like this:
X-WECHAT-HOSTSIGN: {"noncestr":"NONCESTR", "timestamp":"TIMESTAMP", "signature":"SIGNATURE"}
NONCESTR is a random string, and TIMESTAMP is the UNIX timestamp when the random string and SIGNATURE are generated. They are parameters used to calculate the signature SIGNATRUE. The algorithm for the signature is:
SIGNATURE = sha1([APPID, NONCESTR, TIMESTAMP, TOKEN].sort().join(''))
APPID is AppId (which can be obtained from referrer in the request header) of the Mini Program where a plugin resides, and TOKEN is the token of the plug-in that can be found in Mini Program Plug-In > Basic Settings.
The format of referrer in the network request is fixed as https://servicewechat.com/{appid}/{version}/page-frame.html, where {appid} is the appid of the Mini Program, and {version} is the version number of the Mini Program. A version number of 0 indicates a developer version, a test version, and a review version, a version number of devtools indicates that the Mini Program is the Weixin DevTools, and other version numbers indicate formal versions.
A plug-in developer can verify a signature by performing the following steps on a server:
- Represent values of
APPID,NONCESTR,TIMESTAMP, andTOKENas strings in lexicographical order (which is the same as the sorting order of JavaScript arrays) viasort. - Directly concatenate the four sorted strings via
join. - Apply the
sha1algorithm to the concatenation result, to obtain the resultSIGNATURE.
As of the base library 2.0.7, values of NONCESTR and TIMESTAMP change every 10 minutes if the network is normal during running of a Mini Program. If necessary, you can determine whether the current signature is still valid via TIMESTAMP.