You may start using Cloud Base by following the steps below.
- Create new Cloud Base instance via template
- Enable Cloud Base
- Test your Mini Program
- View the Console
# 1. Creating New Cloud Base Instance via Template
You may also skip this step and directly enable and use Cloud Base with an existing project.
Select an empty directory for the new project, enter the AppID (which is required to use Cloud Base), check QuickStart Cloud Base Project, and click Create to get a sample Mini Program that shows the basic capabilities of Cloud Base. Note that this Mini Program is different from the normal QuickStart Mini Program in the following ways:
- There is no visitor mode, and test number may not be used
- The
cloudfunctionRootfield is added toproject.config.jsonto specify the directory where the cloud function is stored - The directory specified by
cloudfunctionRoothas a special icon - Cloud Base capabilities are supported from base library 2.2.3 and later (97.3% coverage, refer to Compatibility)
From base library 2.4.1 and later, you may access Cloud Base from within a Mini Program plug-in. When doing so, the plug-in party's cloud resources are used instead of the host's cloud resources, and they are used in the same way as with the Mini Program.
# 2. Enabling Cloud Base and Creating an Environment
After creating your first Cloud Base Mini Program, you need to enable Cloud Base before using it. Click the "Cloud Base" button on the left side of the Developer Tools toolbar to open up the Cloud Console, and then enable Cloud Base and create a cloud environment as instructed. By default, you can create two cloud environments that are independent from each other. Each environment is identified by a unique environment ID and contains a separate database instance, storage space, cloud function configurations, and other resources.
Note: After the cloud environment is enabled with AppID for the first time, it will take about 10 minutes before the cloud API can be used. Calls to the cloud API within the Mini Program during this time will result in a
cloud init error:{ errMsg: "invalid scope" }error.
# 3. Testing Your Mini Program
Once the cloud environment has been enabled and created, you can start working with the Mini Program via the simulator to experience some of the basic capabilities provided by Cloud Base.
# 4. Viewing the Console
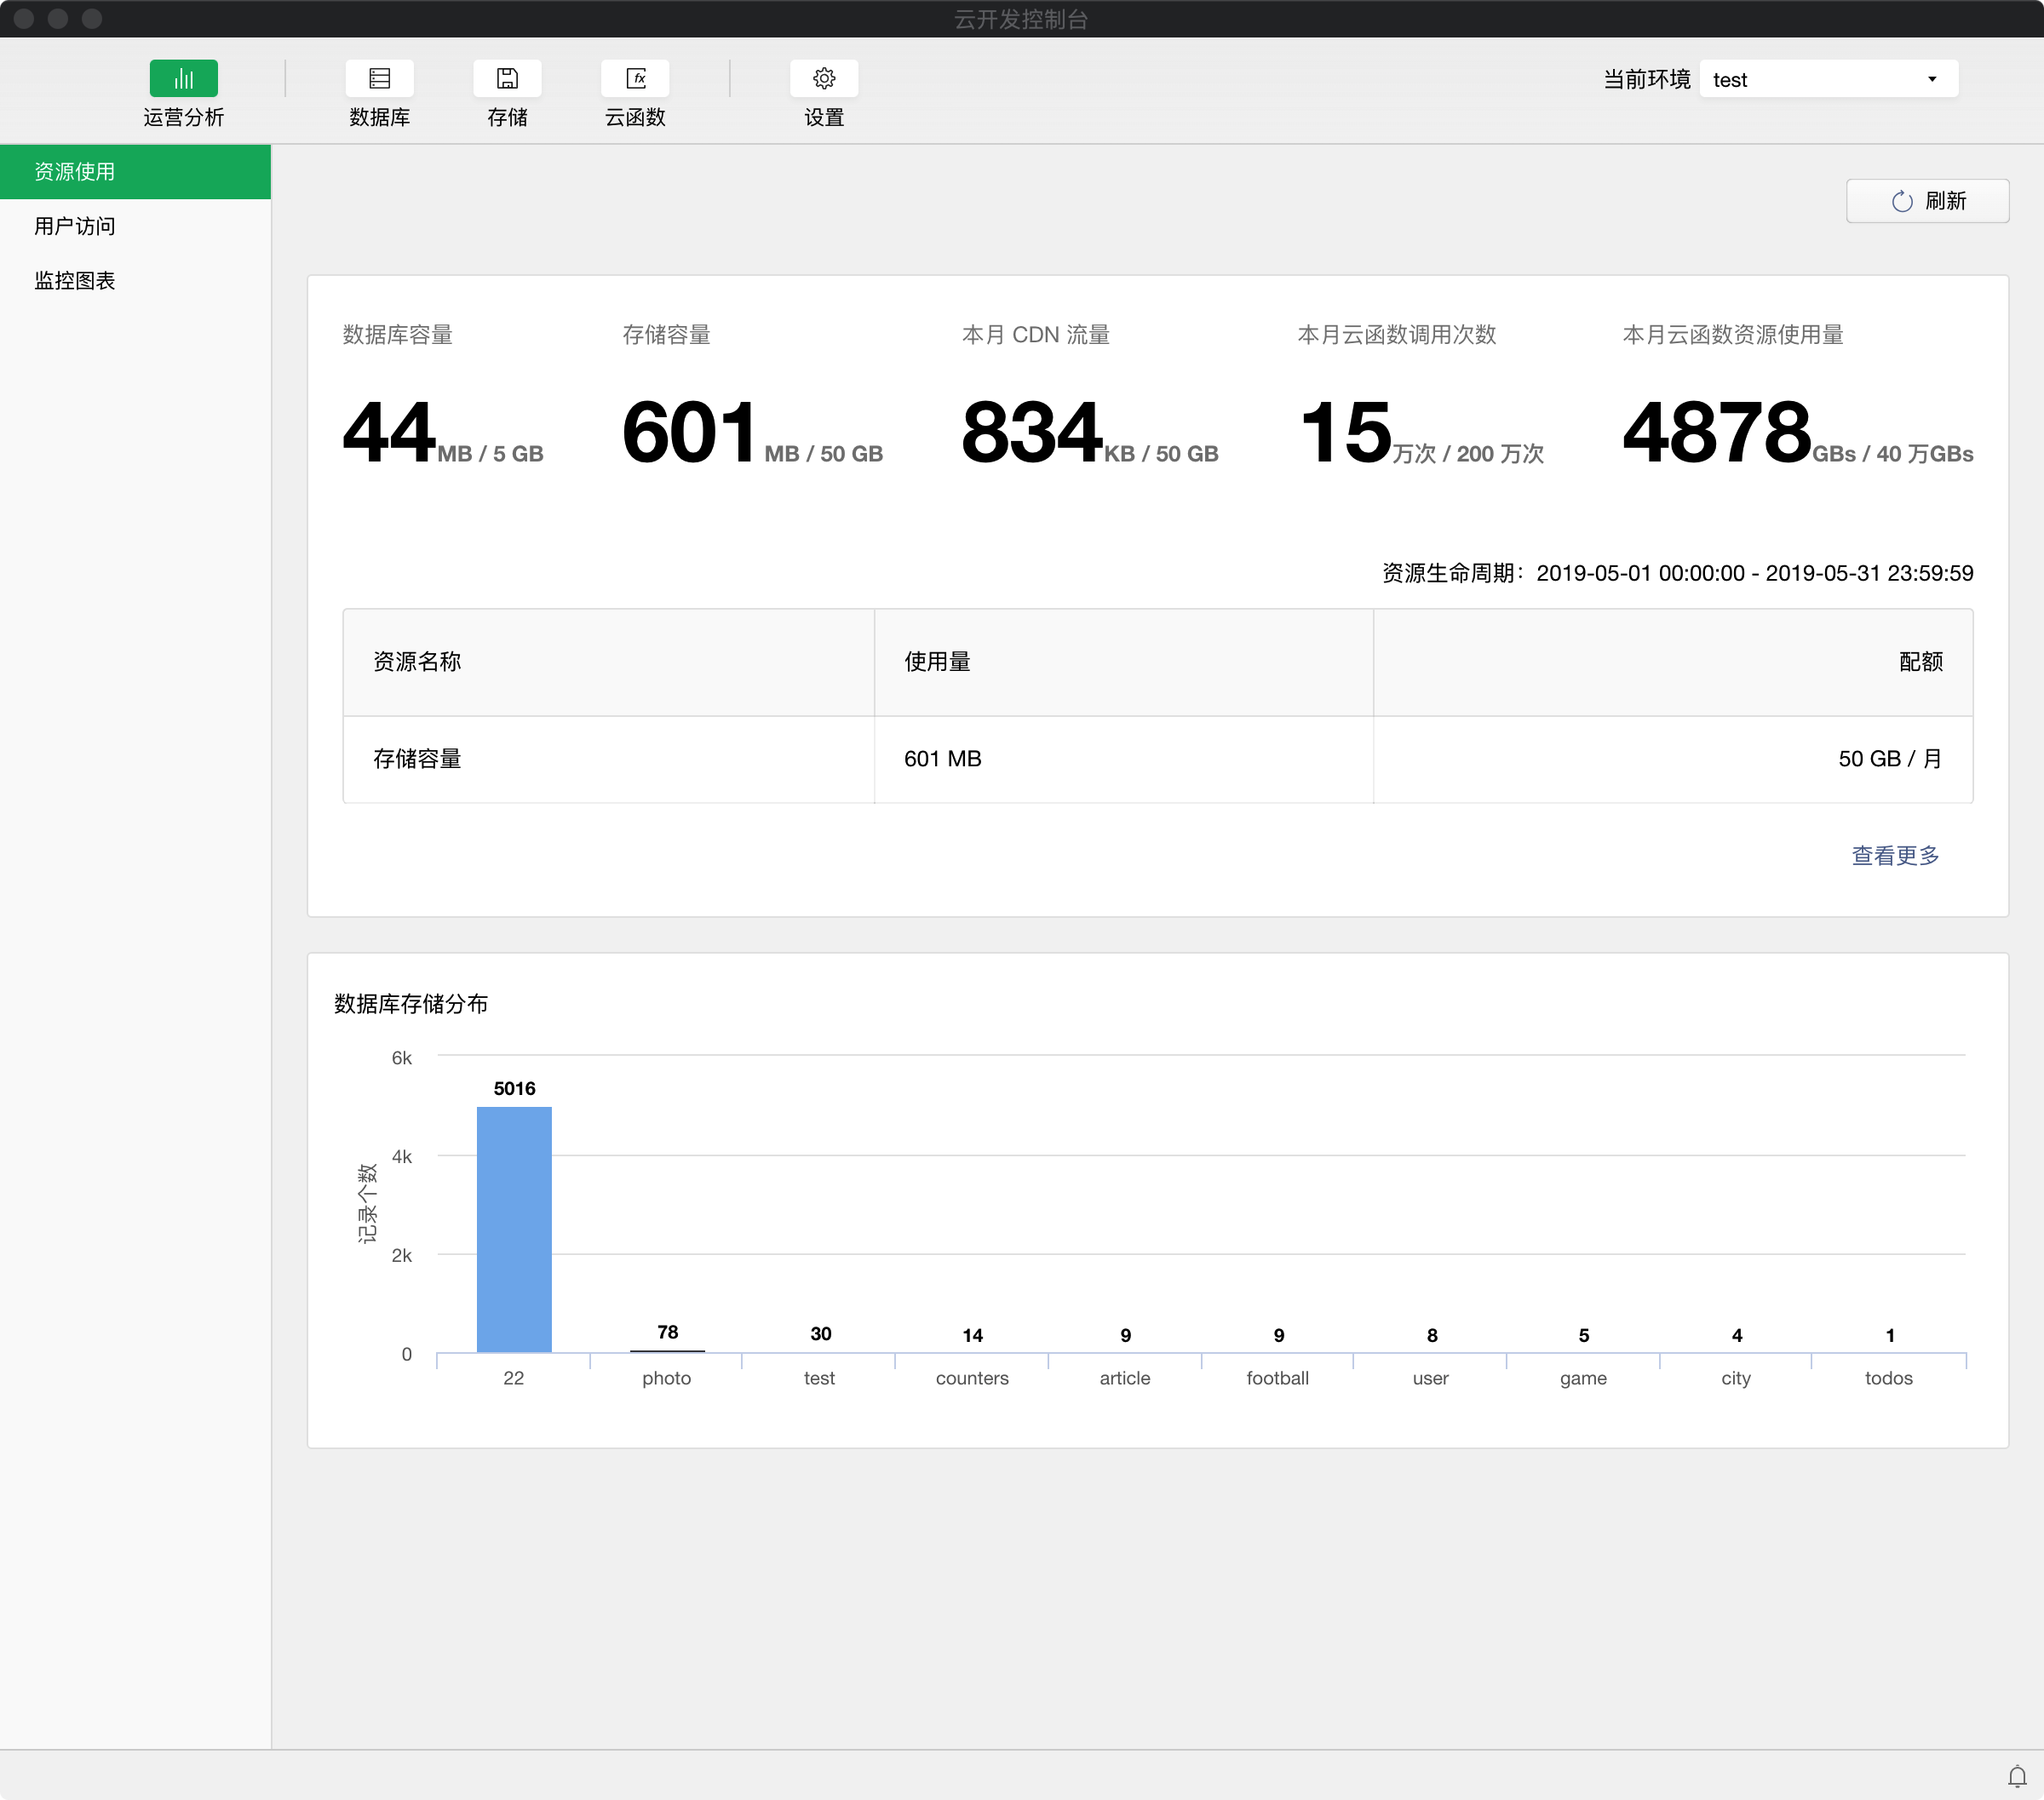
The Cloud Base Console allows you to manage cloud development resources, which comes with the following capabilities:
- Operation analysis: View Cloud Base monitoring data, quota usage, and user access statistics
- Database: Manage database; view, add, update, find, and delete data; manage indexes; manage database access rights, etc.
- Storage management: View and manage storage space
- Cloud functions: View cloud function lists, configurations, logs
