# Getting Started with Cloud Database
In this section, we'll show you how to create your first database collection in the console, insert data into the collection, and view the data just inserted in the console.
# Creating First Collection
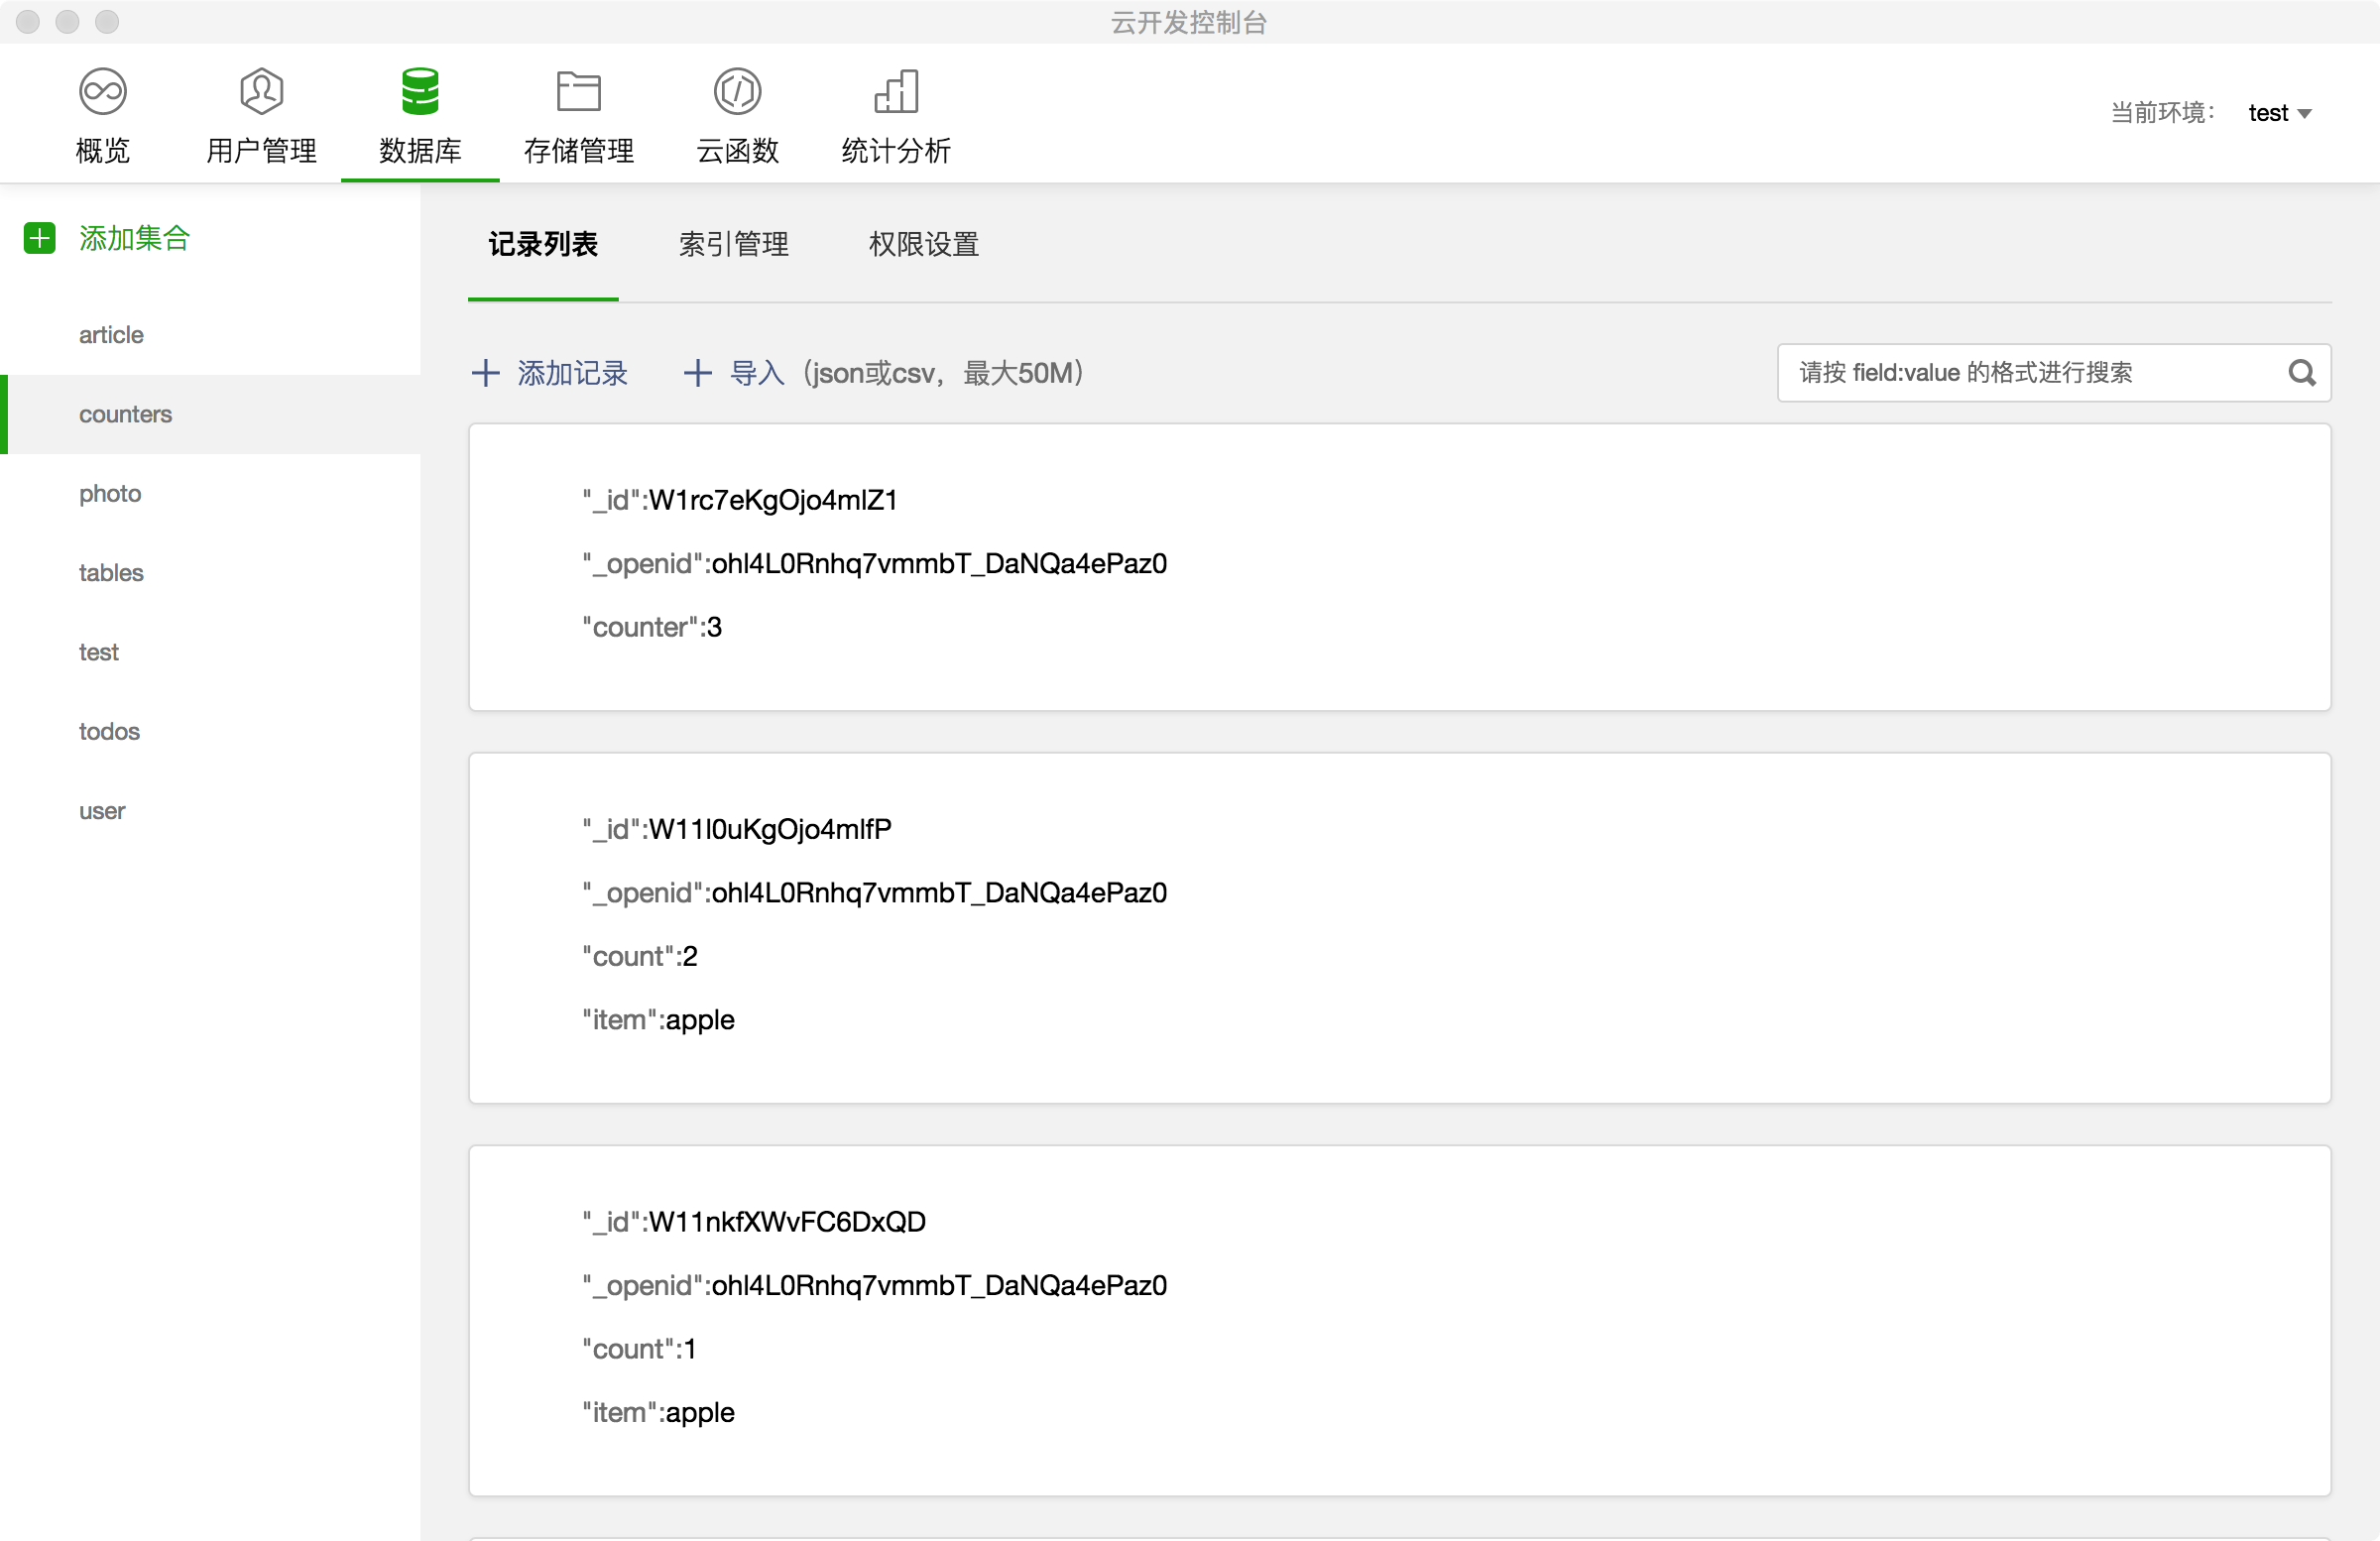
Open the console, select the "Database" tab, and create a collection via "Add Collection". To create a To-Do Mini Program, you need to create a collection called todos. After successful creation, you can see the todos collection management interface, where you can add records, find records, and manage indexes and permissions.

# Creating First Record
The console provides an interactive interface for visual data addition. Click "Add Record" to add our first to-do:
{
  // Description, String type
  "description": "learn mini-program cloud service",
  // Deadline, Date type
  "due": Date("2018-09-01"),
  // Tag, Array type
  "tags": [
    "tech",
    "mini-program",
    "cloud"
  ],
  // Personalized style, Object type
  "style": {
    "color": "red"
  },
  // Completion status, Boolean type
  "done": false
}
After adding the record, you can see the newly added data in the console.
# Importing Data
The cloud console supports uploading files to import existing data. You can view the guide to learn how it works.
In the next chapter, we'll learn what data types the database provides.