# 天空盒
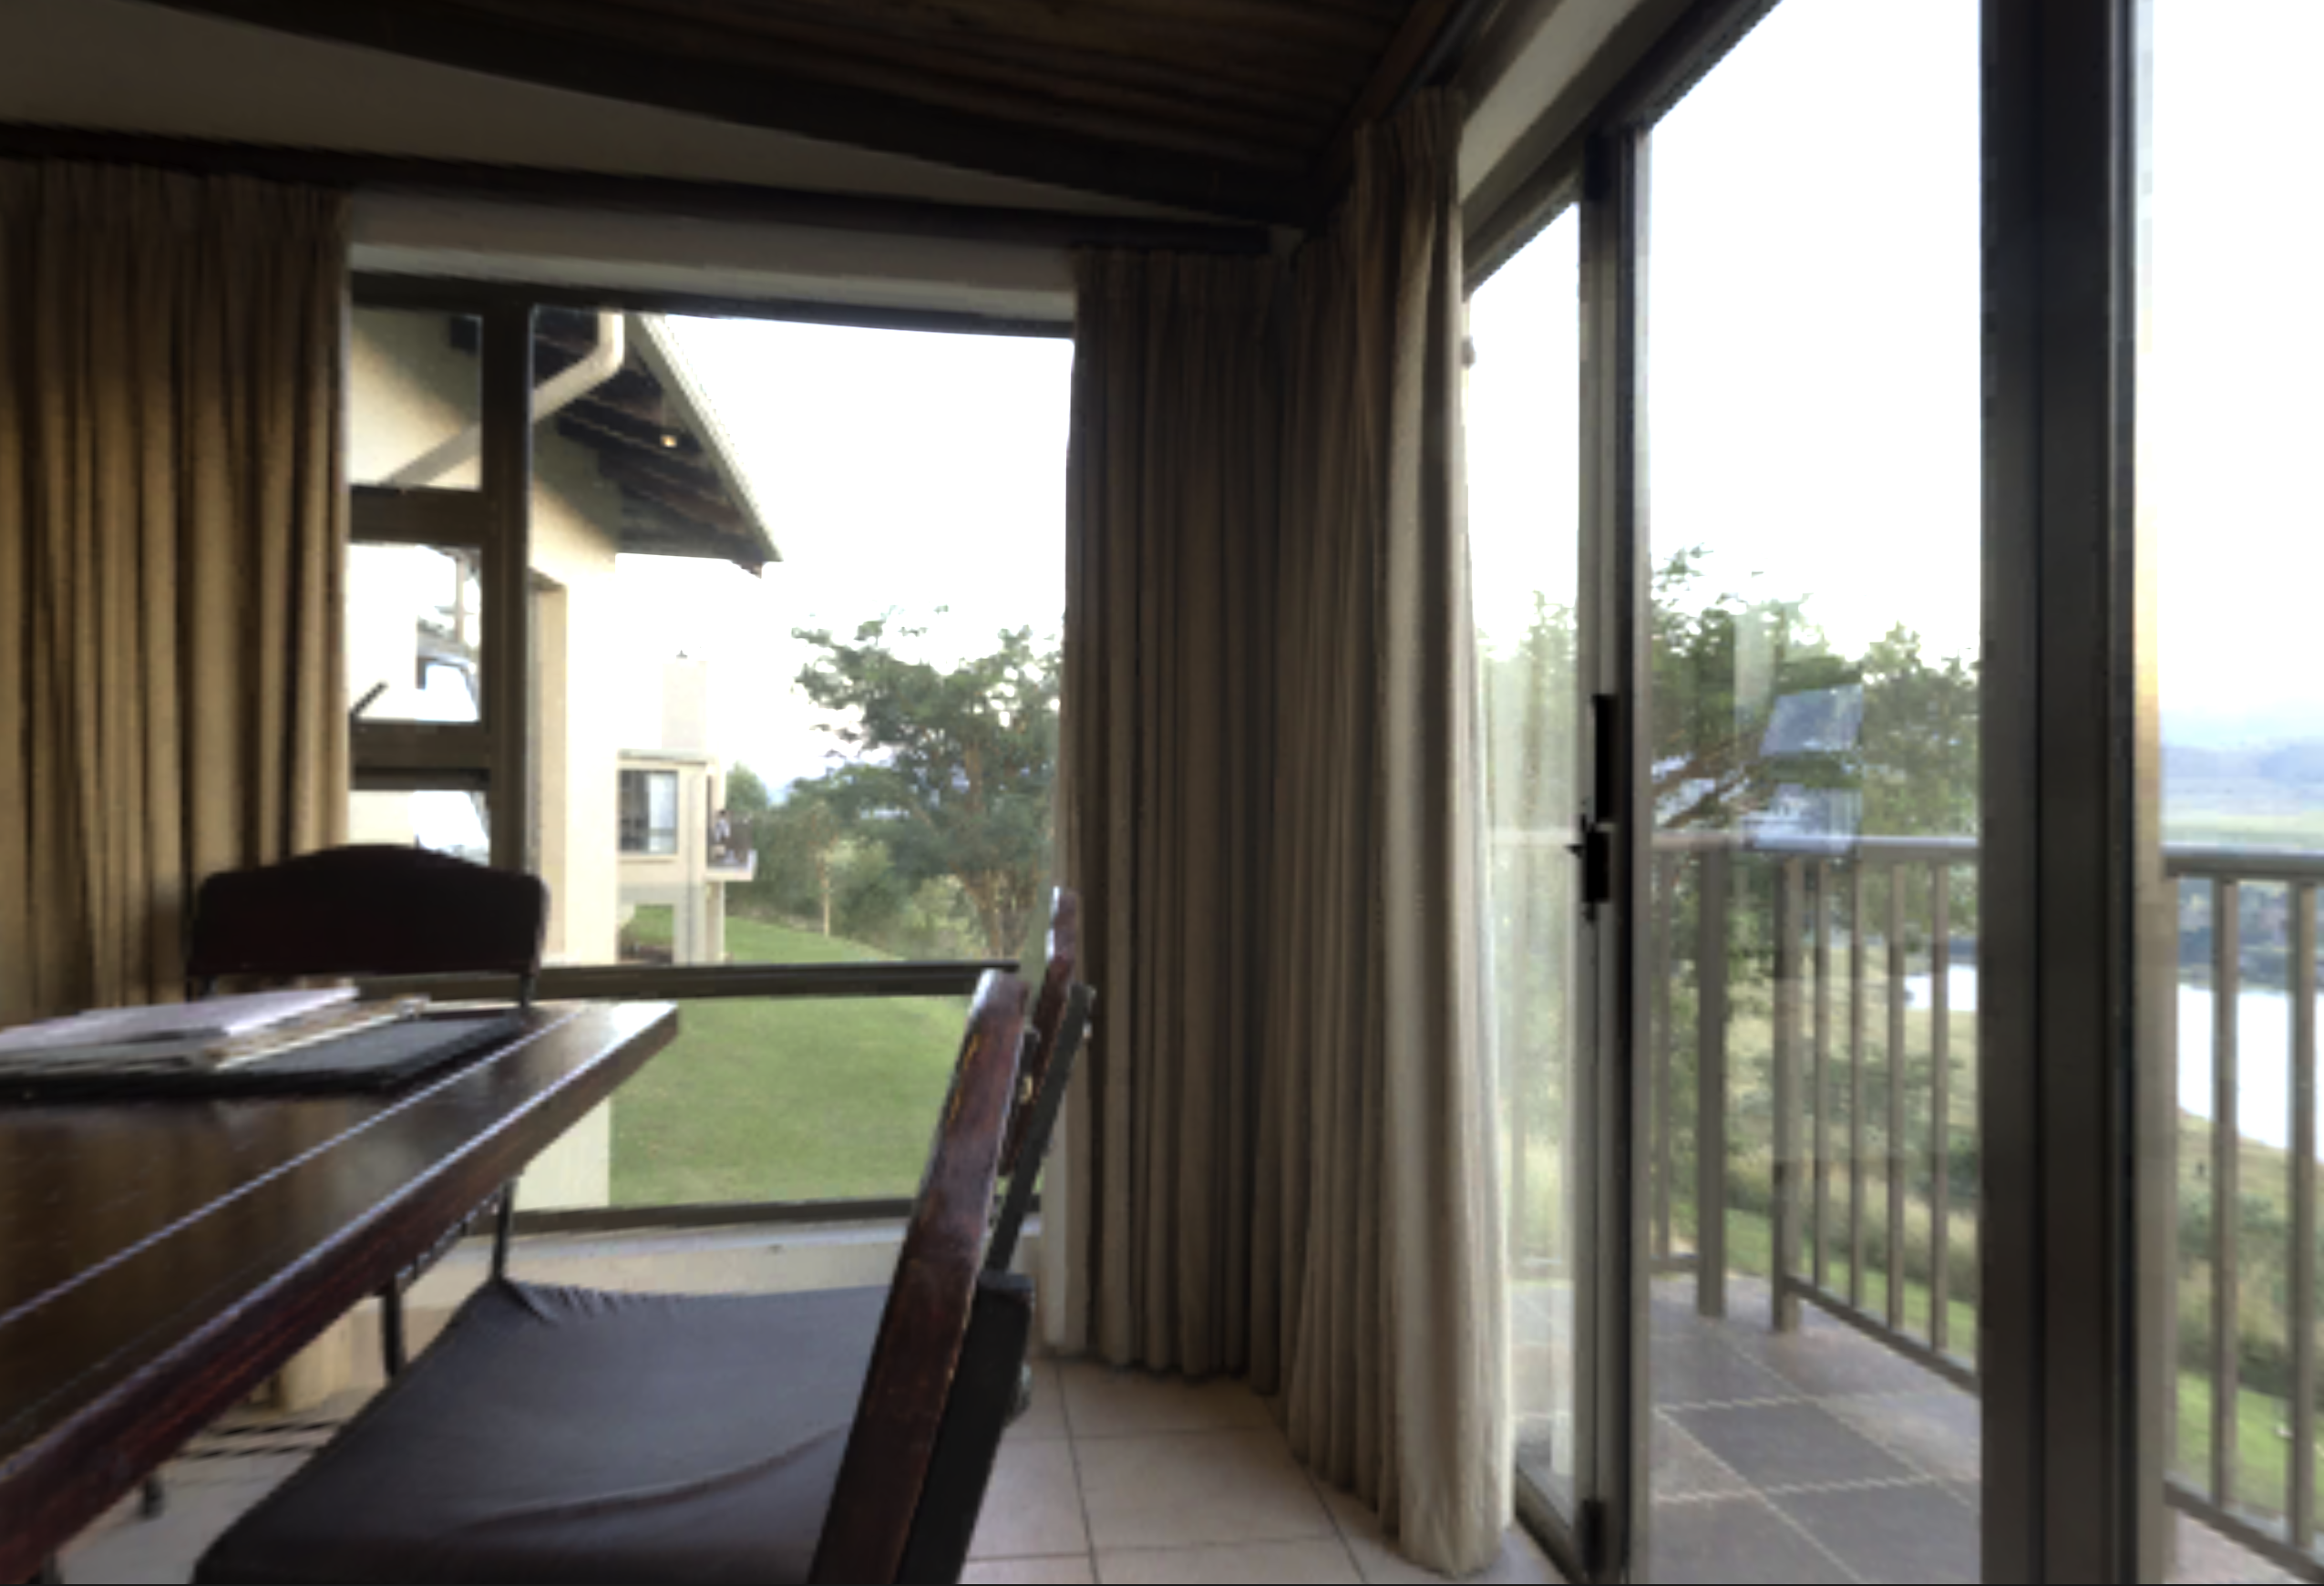
天空盒是增强场景表现力的一个非常高效的方法,它在渲染场景之前绘制一遍远景立方体贴图,营造出场景的深度感。

# 使用天空盒
新建场景后,会带有默认的天空盒。
 你可以在两处对天空盒进行修改:
场景主相机
新建场景后,场景主相机会默认勾选drawSkybox的选项。关闭这个选项会停止绘制天空盒,并露出背景色(由相机的clearColor指定)。
场景天空盒材质
点开SceneSetting标签(通常位于工具下方)。如果标签不存在的话,可以点任意标签右侧的三点,选择新增标签→SceneSetting。
标签中的skyBox这一项用来选择场景的天空盒材质,可以手动选择自定义材质来替换天空盒。创建天空盒材质的方法详见下一节。
# 自定义天空盒
创建自定义材质
在项目文件夹中,右键新建Material,起名为MySkybox。
选择该资源,在右侧Inspector面板中,替换Effect为System::Effect::Skybox。
可以观察到该材质的预览图变黑了,原因是我们还没有给他赋予贴图,接下来我们需要创建一张立方体贴图(CubeMap)才行。
创建立方体贴图
在项目文件夹中,新建Image→texturecube,起名为MySkyTex。
选择该资源,在右侧Inspector面板中有right,left...等六项属性,每项属性都可以塞入一张2d图片。
*需要注意的是,六个面的六张图片,一定要相同大小(像素),并且每一张都是正方形,否则会报错。
设置材质贴图
再次选择MySkybox.mat,在右侧Inspector面板中,点选Textures→_MainTex,选择MySkyTex.texturecube。
此时应该可以观察到材质的缩略图变为天空盒了。设置场景天空盒材质
在Scene Setting标签下,点击skyBox这一项,选择MySkybox.mat,就大功告成了!
# 自定义天空盒Shader
如果只展示六张图片不满足你的需求的话,可以考虑自己来写天空盒的Shader。
点击这里学习如何编写Effect。
如果你已经会写Shader了,那么有两种方法可以选择:
- 自定义管线,这种做法比较困难,不过绘制方法可以完全自定义;
- 为现有的内置管线写一个新的天空盒shader,这样的话你需要完全遵照内置管线的方法来写。
为了方便用户,这里把内置天空盒的effect和shader贴了出来,你可以参考着来进行修改:
Effect.json:
{
   "shaderProperties": [
       {
           "key": "_TintColor",
           "type": "Vector4",
           "default": [
               0.5,
               0.5,
               0.5,
               1
           ]
       },
       {
           "key": "_Exposure",
           "type": "Float",
           "default": [
               1
           ]
       },
       {
           "key": "_Rotation",
           "type": "Float",
           "default": [
               0
           ]
       }
       ...填写你自己的uniform
   ],
   "textures": [
       {
           "key": "_MainTex",
           "type": "TextureCube",
           "default": "white"
       }
   ],
   "defaultRenderQueue": 2499,
   "passes": [
       {
           "lightMode": "Skybox",
           "vs": ...填写你自己的VertexShader的相对路径,
           "ps": ...填写你自己的FragShader的相对路径,
           "multiCompile": [],
           "useMaterialRenderStates": true,
           "renderStates": {
               "blendOn": false,
               "cullOn": false,
               "depthWrite": false,
               "depthTestOn": false
           }
       }
   ]
}
VertexShader:
#include <common.inc>

struct FVertexInput
{
   float3 Position : a_position;
};

cbuffer Material
{
   float4 _TintColor;
   float _Exposure;
   float _Rotation;
}

struct FVertexOutput
{
   float4 Position : SV_Position;
   float3 pos: TEXCOORD0;
};

// 当camera type是ortho的时候,使用以下三个来代替u_projection
static const float fov_ = 0.25 * 3.1415926;
static const float aspect_ = 1.0;
static const float4x4 ortho_matrix = {
   1.0 / (aspect_ * tan(fov_ * .5)), 0, 0, 0,
   0, 1.0 / tan(fov_ * .5), 0, 0,
   0, 0, -1.0, 0,
   0, 0, -1.0, 0
};

void Main(in FVertexInput In, out FVertexOutput Out)
{

   float4 after_rotation = {
       cos(_Rotation) * In.Position.x - sin(_Rotation) * In.Position.z,
       In.Position.y,
       sin(_Rotation) * In.Position.x + cos(_Rotation) * In.Position.z,
       1.0
   };

   float4x4 u_view_without_translate = u_view;
   u_view_without_translate[3][0] = 0;
   u_view_without_translate[3][1] = 0;
   u_view_without_translate[3][2] = 0;

   float3 camera_based_pos = mul(u_view_without_translate, after_rotation).xyz;
   float3 normalized_pos = normalize(camera_based_pos);

   // 判断是否是orhto
   if (abs(u_projection[3][3]) < 1e-4) {
       Out.Position = mul(u_projection, float4(normalized_pos, 1.0));
       Out.Position.z = Out.Position.w;
   } else {
       Out.Position = mul(ortho_matrix, float4(normalized_pos, 1.0));
   }
   Out.pos = In.Position;
}
PixelShader:
#include <common.inc>

cbuffer Material
{
   float4 _TintColor;
   float _Exposure;
   float _Rotation;
}

DECLARE_CUBEMAP(_MainTex);

struct FVertexOutput
{
   float4 Position : SV_Position;
   float3 pos: TEXCOORD0;
};

float4 Main(in FVertexOutput In) : SV_Target0
{
   // 你可能会想要改这里
   return SAMPLE_CUBEMAP(_MainTex, In.pos) * float4(_TintColor.xyz, 1.0) * _Exposure * 2.0;
}