# 后处理节点
后处理节点是一类特殊的渲染节点,其提供了一套规范和生命周期来帮助开发者快速定制后处理效果。
# 基类
所有的后处理节点都应该派生自基类RGPostProcessNode:
// 每个后处理Pass的数据
export interface IPostProcessPassData {
  effect: Effect;
  renderTarget: RenderTexture | Screen;
  lightMode: string;
}

// 所有后处理节点共有的配置
export interface IRGPostProcessNodeOptions {
  renderToScreen?: boolean;
  hdr?: boolean;
}

// 后处理节点基类
export abstract class RGPostProcessNode<
  TInput extends {[key: string]: keyof IRGData} = {},
  TOptions extends IRGPostProcessNodeOptions = IRGPostProcessNodeOptions
> extends RGNode<TInput, 'RenderTarget', TOptions> {
  public abstract onGetPasses(context: RenderSystem, options: TOptions): IPostProcessPassData[];
  public onCreatedData(context: RenderSystem, materials: Material[], passes: IPostProcessPassData[], options: TOptions): void {}
  public onFillData(context: RenderSystem, materials: Material[], passes: IPostProcessPassData[], options: TOptions): void {}
}
根据之前章节对渲染节点的介绍,我们可以看到后处理节点实际上是一个可以自定义输入、输出RenderTarget的节点,事实上,大部分后处理节点都会接收一个或多个RenderTexture作为输入,最终输出到RenderTexture或Screen,这也代表后处理节点实质上是可以级联的,从这个角度,对于简单的后处理流程,认为其实一个管道也可。
# 定制节点
要定制一个后处理节点,最重要的就是掌握这个节点的三个生命周期,这里以最简单的Blit节点为例,来论述如何自定义后处理节点:
@engine.RGPostProcessNode.serialize('BLIT')
export class RGBlitPostProcessNode extends engine.RGPostProcessNode<{sourceTex: 'RenderTarget'}> {
  public inputTypes = {sourceTex: 'RenderTarget' as 'RenderTarget'};

  public onGetPasses(context: RenderSystem, options: IRGPostProcessNodeOptions): IPostProcessPassData[] {
    return [{
      effect: this.getEffectByName('System::Effect::Blit'),
      renderTarget: options.renderToScreen ? context.screen : new engine.RenderTexture({
        width: context.screen.width,
        height: context.screen.height,
        colors: [{
          pixelFormat: options.hdr ? engine.ETextureFormat.RGBA16F : engine.ETextureFormat.RGBA8
        }]
      }),
      lightMode: 'Default'
    }];
  }

  public onCreatedData(context: RenderSystem, materials: Material[], passes: IPostProcessPassData[], options: IRGPostProcessNodeOptions) {
  }

  public onFillData(context: RenderSystem, materials: Material[]): void {
    const srcTex = this.getInput('sourceTex') as RenderTexture;

    if (srcTex) {
      materials[0].setTexture('sourceTex', srcTex);
    }
  }
}
首先要注意到我们使用了一个装饰器
engine.RGPostProcessNode.serialize,这用于将类型type和节点实现绑定起来,一般和后续提到的后处理资源配合使用。
对于这个节点,首先定义的就是输入类型信息{sourceTex: 'RenderTarget'},即声明需要一个渲染目标作为输入。
然后是生命周期onGetPasses,其返回了一个数组,数组的元素数量表示会有多少个Pass,每个Pass中返回一个用于渲染的Effect、用于作为输出的RenderTarget,以及用于渲染的lightMode。节点将会选择最后一个Pass的RenderTarget作为节点的总输出。
这里使用的是
System::Effect::Blit,这是一个内置的Effect资源,如果要使用自定义资源,需要先保证对应名字的Effect资源已经被加载完成,这个需要开发者自行控制!
生命周期onCreatedData将会在组装完后处理的Passes数据后执行,可以在这里做一些准备工作,比如给material设置宏等等。
最后就是生命周期onFillData了,其会在每次执行后处理的渲染前中调用,用于每帧更新需要的数据,在这里就是及时获取输入的纹理,设置到material中去。
注意这个
materials的元素数量来自于Passes的数量,每个Pass对应一个Material。
# 内置节点
目前小游戏框架提供了一些内置的后处理节点:
# RGBlitPostProcessNode
拷贝节点,将输入纹理sourceTex拷贝到输出。
# ▌RGHDRPostProcessNode
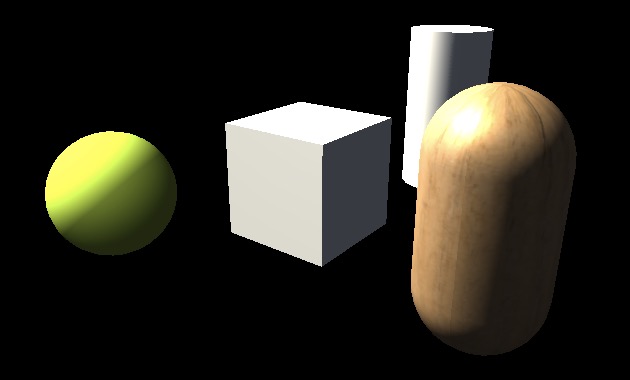
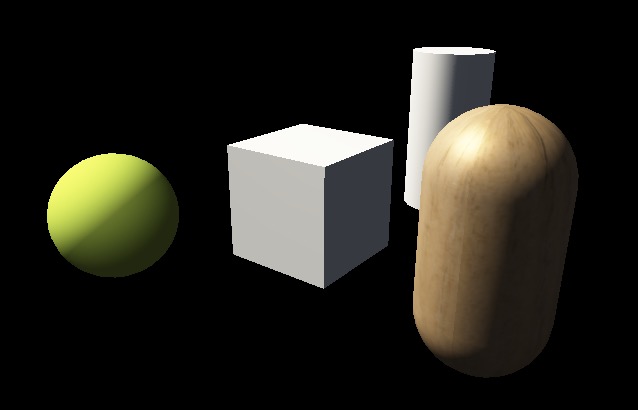
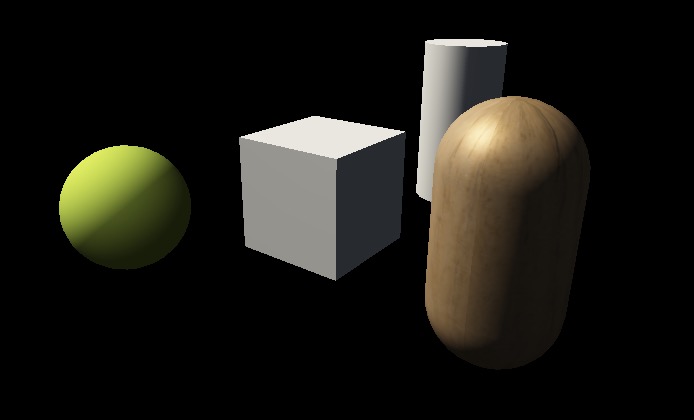
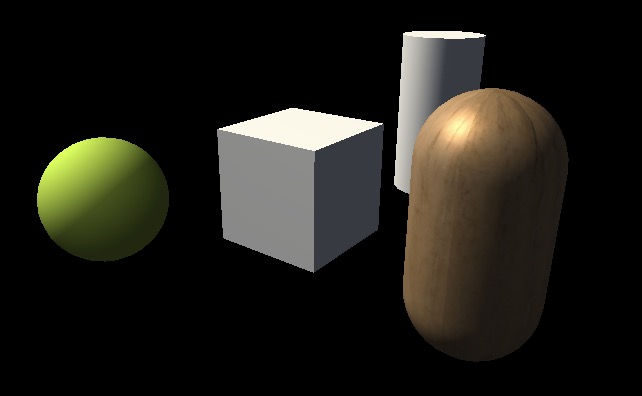
色调映射节点,对输入纹理sourceTex做tone mapping输出。
将场景光源强度设置成2.0后:
开启前 开启(exposure=1.0) 开启(exposure=0.5)
# ▌RGFXAAPostProcessNode
快速近似抗锯齿节点,对输入纹理sourceTex做抗锯齿后输出。
开启前 开启后
# ▌RGBloomPostProcessNode
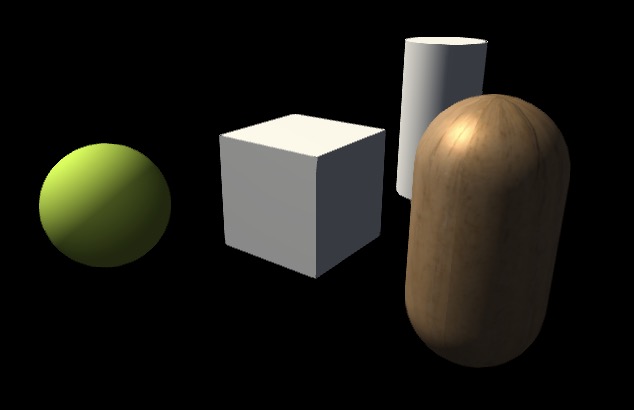
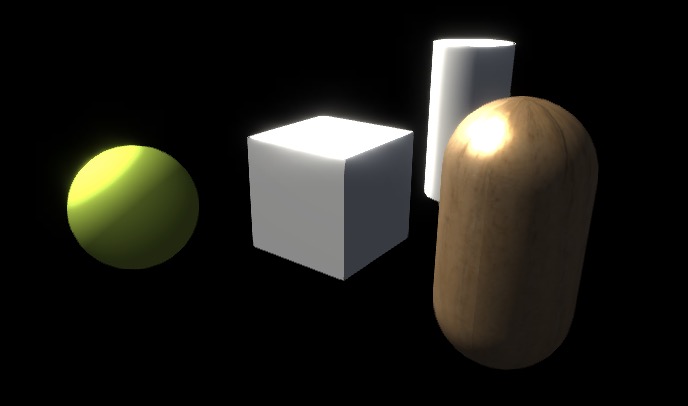
泛光节点,对输入纹理sourceTex通过调整的参数做泛光输出。
开启前 开启后
