# 自定义顶点绘制与材质
本章节主要介绍,如何使用二维顶点组件,根据自己的需要定义顶点的渲染组件,以及使用外部材质影响二维元素的渲染。
# 自定义顶点绘制
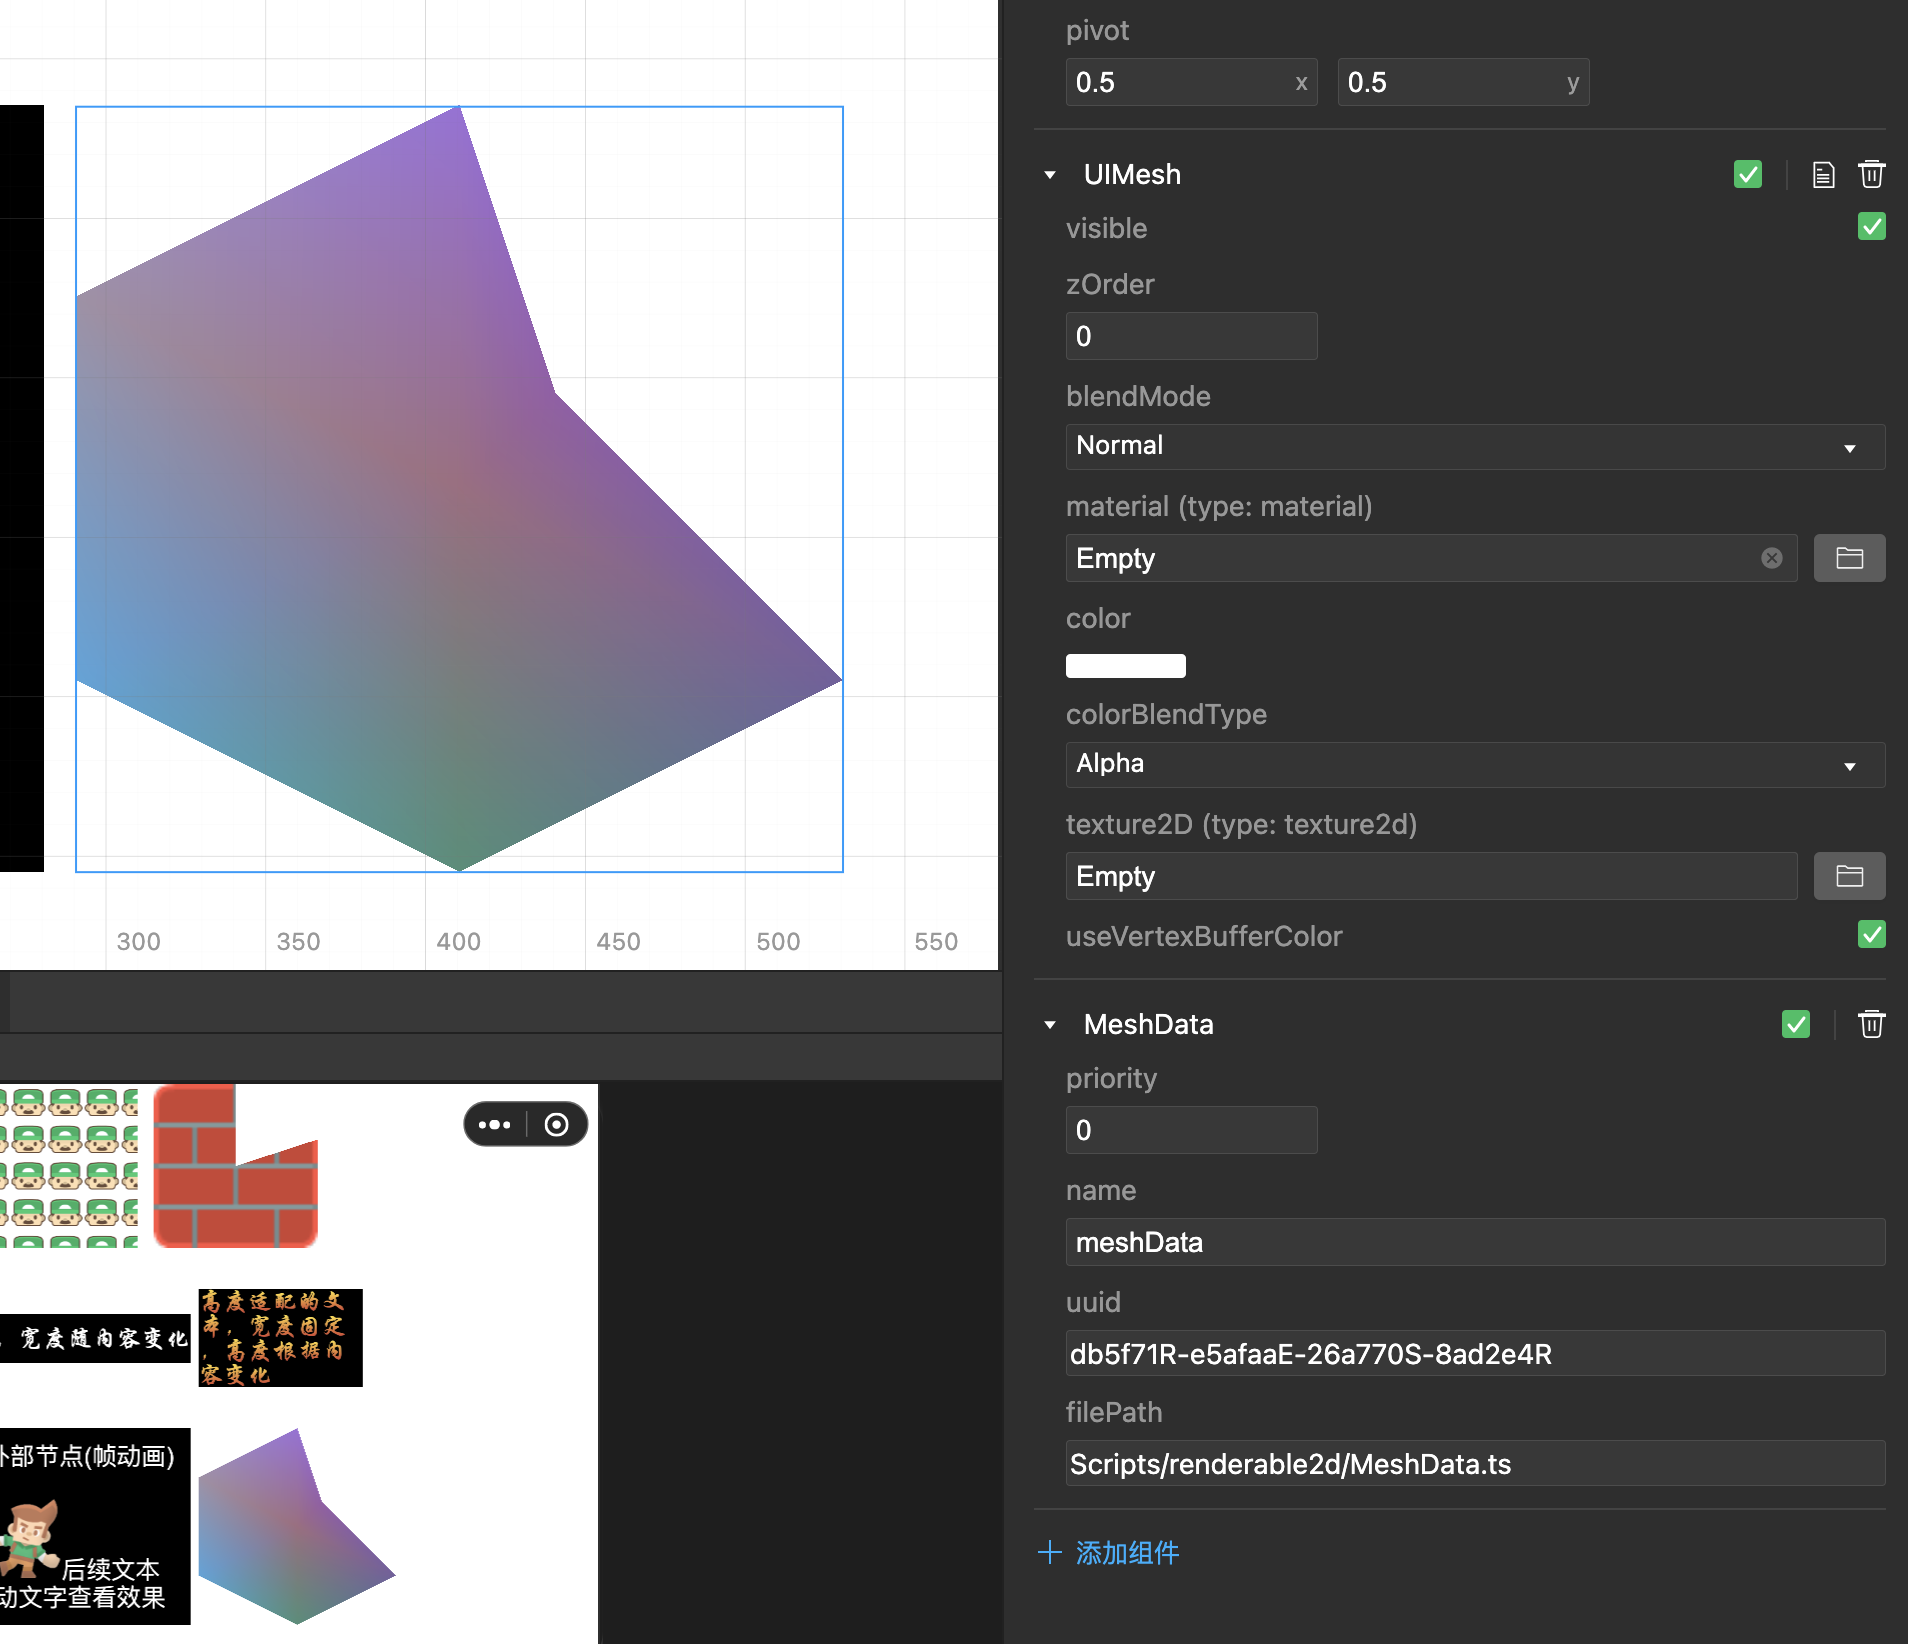
需要实现自定义顶点的绘制,需使用 UIMesh 组件。 组件根据传入的 Vertex 与 indices 的 ArrayBuffer,以及纹理,按照默认的普通二维的渲染流程进行绘制。

# 使用步骤
- 构建一个空节点。
- 节点添加 UIMesh 组件。
- 节点添加 Script 脚本逻辑组件。
- Script 组件逻辑中, 构建所需 Vertex 与 indices 的 ArrayBuffer, 获取所需 纹理(若未设置,则使用内置白色图片), 获取所需 UIMesh 组件,并设置对应的值。
# 脚本逻辑
import engine from "engine";
@engine.decorators.serialize("MeshData")
export default class MeshData extends engine.Script {
  @engine.decorators.property({
    type: engine.TypeNames.String
  })
  public name: string = "meshData"

  public _meshComp: engine.UIMesh;

  public onAwake() {
    this._meshComp = this.entity.getComponent(engine.UIMesh);
  }
  public onEnable() {
    // 获取节点大小,作为UIMesh渲染大小
    const meshWidth = this.entity.transform2D.sizeX / 2;
    const meshHeight = this.entity.transform2D.sizeY / 4;
    // 创建需设定的VertexBufer
    // 普通二维情况下,顶点格式为 x y u v c (三维情况下为 x y z u v c)
    const verticesArray = new Float32Array([
      0, 0, 0, 0, 0,
      -meshWidth, meshHeight, 0, 0, 0,
      0, meshWidth, 0, 0, 0,
      meshWidth, meshHeight, 0, 0, 0,
      -meshWidth, -meshHeight, 0, 0, 0,
      meshWidth, -meshHeight, 0, 0, 0,
      0, -meshWidth, 0, 0, 0,
      meshWidth / 4, meshHeight / 2, 0, 0, 0,
    ]);

    // 设置VertexBufer里面的顶点色
    const verticesArrayU32 = new Uint32Array(verticesArray.buffer);
    for (let i = 0; i < verticesArray.length / 5; i++) {
      verticesArrayU32[i * 5 + 4] = engine.Color.getValue32FromRGBA(Math.random() * 100 + 50, Math.random() * 100 + 50, Math.random() * 150 + 100, 230);
    }
    // 创建需设定的IndicesBufer
    const indicesArray = new Uint16Array([
      0, 1, 2,
      0, 2, 7,
      0, 7, 5,
      0, 6, 5,
      0, 4, 6,
      0, 4, 1
    ]);
    // 是否使用VertexBufer里面的顶点色,默认为false
    this._meshComp.useVertexBufferColor = true;
    // 组件设置属性
    this._meshComp.setBufferValue(verticesArray, indicesArray);

  }
}
# 外部材质
目前二维仅支持外部材质的 blend 相关的 renderState,如 blendSrcAlpha、blendSrcRGB、blendDstlpha ...