# worker frame
In the mini game framework, a set of framework encapsulation is implemented for the basic worker of the WeChat mini game, so that it can perform tasks every frame and interact with the main thread for data.
The packaged worker has the following capabilities -Scheduling timing in collaboration with the main environment life cycle -Easy to use shared memory -Use Job for logical abstraction
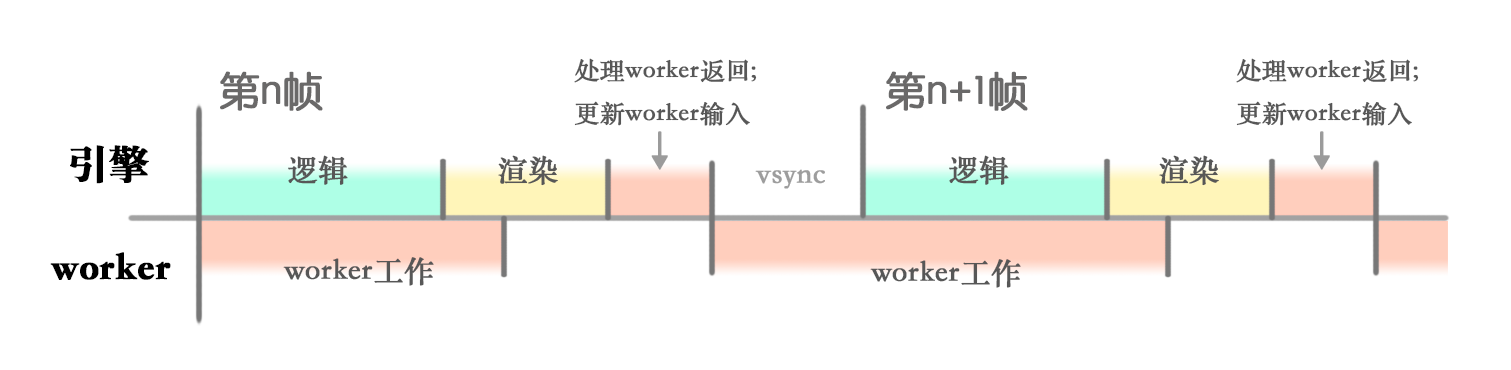
# Approximate scheduling timing
Worker task time is shorter
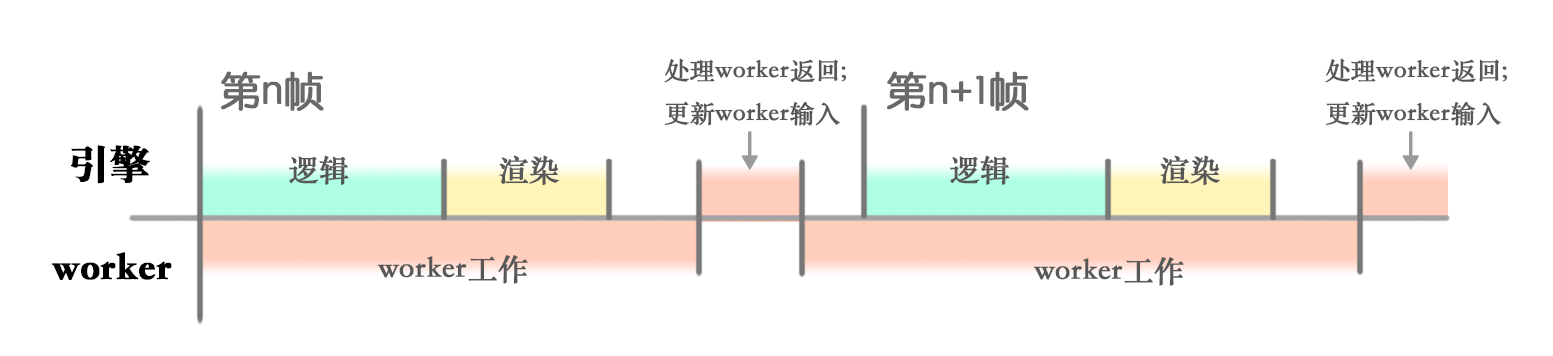
Worker task time is longer
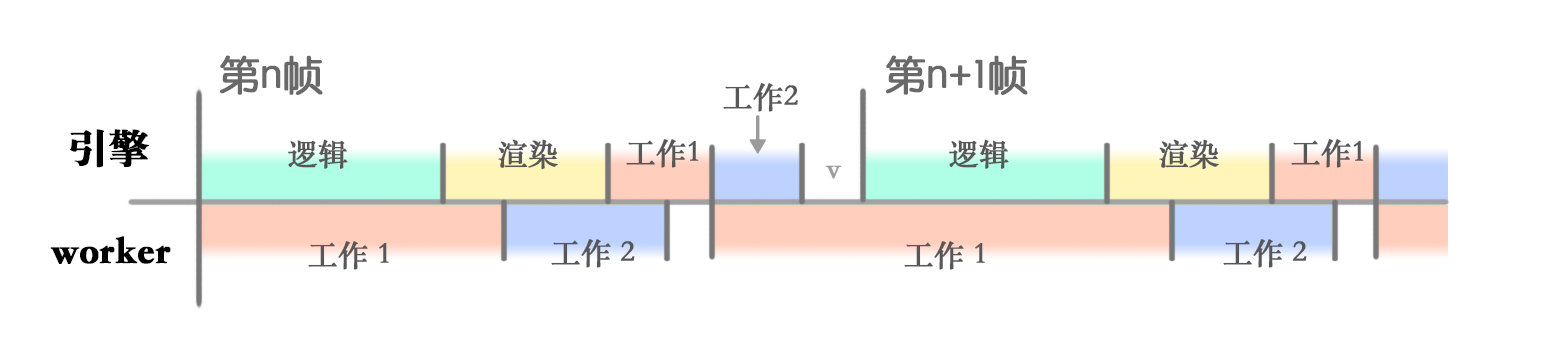
There are multiple worker tasks at the same time
# One, worker side configuration
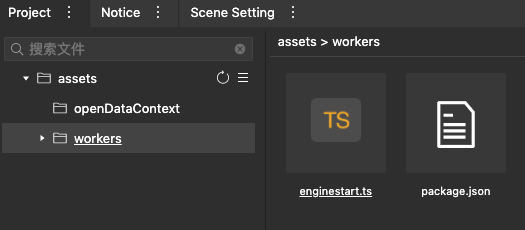
Open the worker folder
The assets/workers directory is designated as the worker directory under the mini game framework, and the developer can set it on in the Inspector tab. After opening, select the workerSystem template. (You can also choose the simple mode for the ordinary workers folder.) After setting it as the worker folder, you will find that there are some more files in the folder. Please do not modify these files manually.
Add worker task
Now you can create the first worker task. Create a new script file myJob.ts in the worker folder,
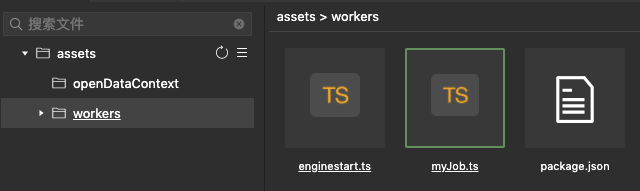 Enter the following code:
import {Job} from "engine-worker-env";

export default class MyJob extends Job {
    protected init() {
        // customized init
    }

    protected update() {
        // real work
    }
}
The content of the task is omitted first, and then comes back to fill in later.
# Two main thread side configuration
By default, you already know how to use the mini game framework (including how to write scripts, etc.). If you don’t know how to use the mini game framework to make simple games, please return to the previous document to learn.
Start worker tasks where needed
Suppose we want the worker to perform the simplest task: Increase a value by 1 per frame. When you want to start a worker task, execute the following code:
const game = engine.game
// Define the data block for interaction between the main thread and the worker
const data = {
    num: game.workerSystem.createSharedArrayBuffer(4);
};
const numView = new Float32Array(data.num.buffer);
numView[0] = 0;

// The first parameter of game.createWorkerJob corresponds to the path of myJob.ts
const job = game.createWorkerJob("myJob", data);

// job.start() defines the task callback of the main thread after the end of each frame of the worker task
job.start(() => {console.log(numView); });
Next, just go to myJob.ts to complete the task content.
Improve the task content
Modify myJob.ts:
import {Job} from "engine-worker-env";

export default class MyJob extends Job {
    private numView: Float32Array;

    protected init() {
        // this.data is the interactive data block passed by the main thread
        this.numView = new Float32Array(this.data.num.buffer)
    }

    protected update() {
        this.numView[0] = this.numView[0] + 1;
    }
}
# Three, preview and build
Preview
After selecting the scene in the IDE and previewing it, you can see the increasing numbers printed out on the console.
Build Click Build Npm first.
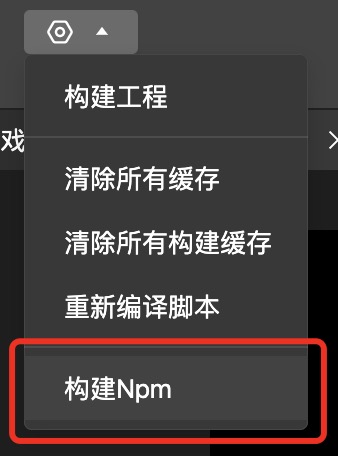
Then build the project normally.