# Two-dimensional resource production
This chapter mainly introduces how to make resources such as pictures, fonts, and atlases in the tool.
# Texture making
Texture2D
Put the picture resource (png/jpg) into the project and it will be processed automatically.
# Picture slice
SpriteFrame
# texutre2D build SpriteFrame
Texture2d can correspond to a SpriteFrame.
Process: Project panel click on the picture-imageType select spriteframe-Spriteframe is automatically generated
![]()
# Manually create a new SpriteFrame
Texture2d can correspond to multiple spriteFrame.
Process: Project panel Right click-New-Image-spriteframe-Inspector panel imageFile is set to the image used-Change the size of Rect
![]()
# SpriteFrame properties
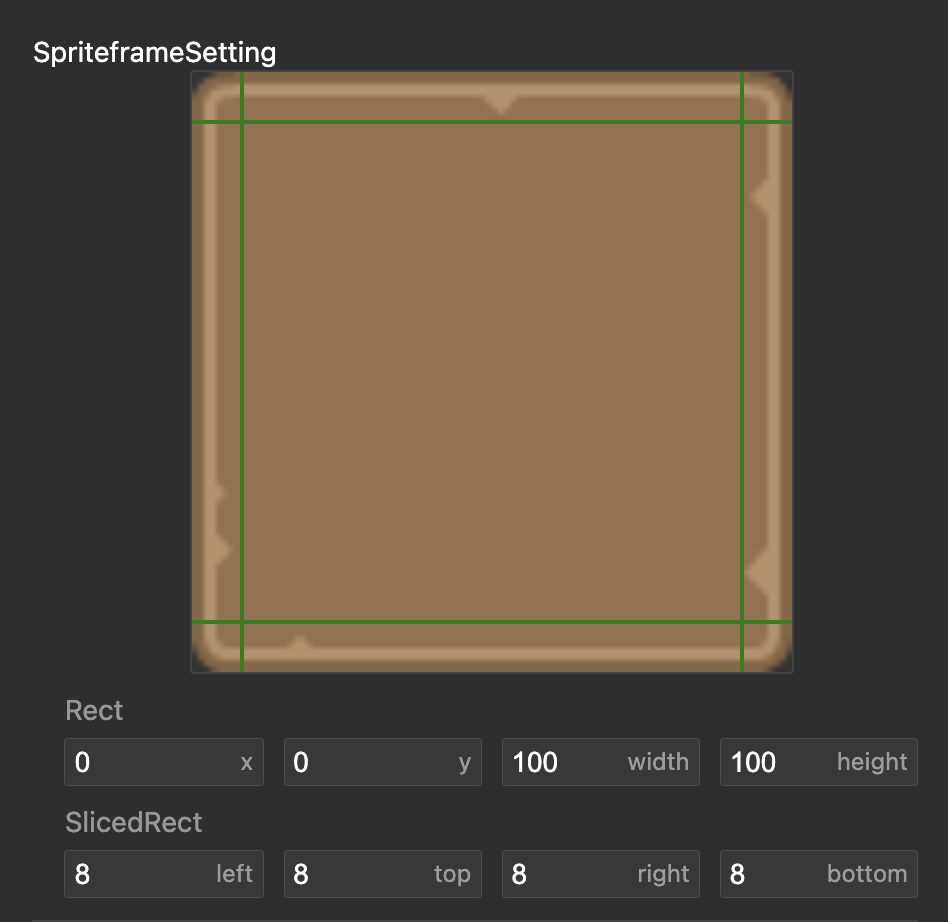
Rect: In the normal rendering mode Simple, use this area for rendering.
SlicedRect: Under the sliced nine-square grid, use this area for rendering, stretch in the middle, and have a fixed size around it.
# Gallery
Atlasspace
# Atlasspace production
- Create an atlas folder, Create a new atlas folder, and put the picture resources into the corresponding folder
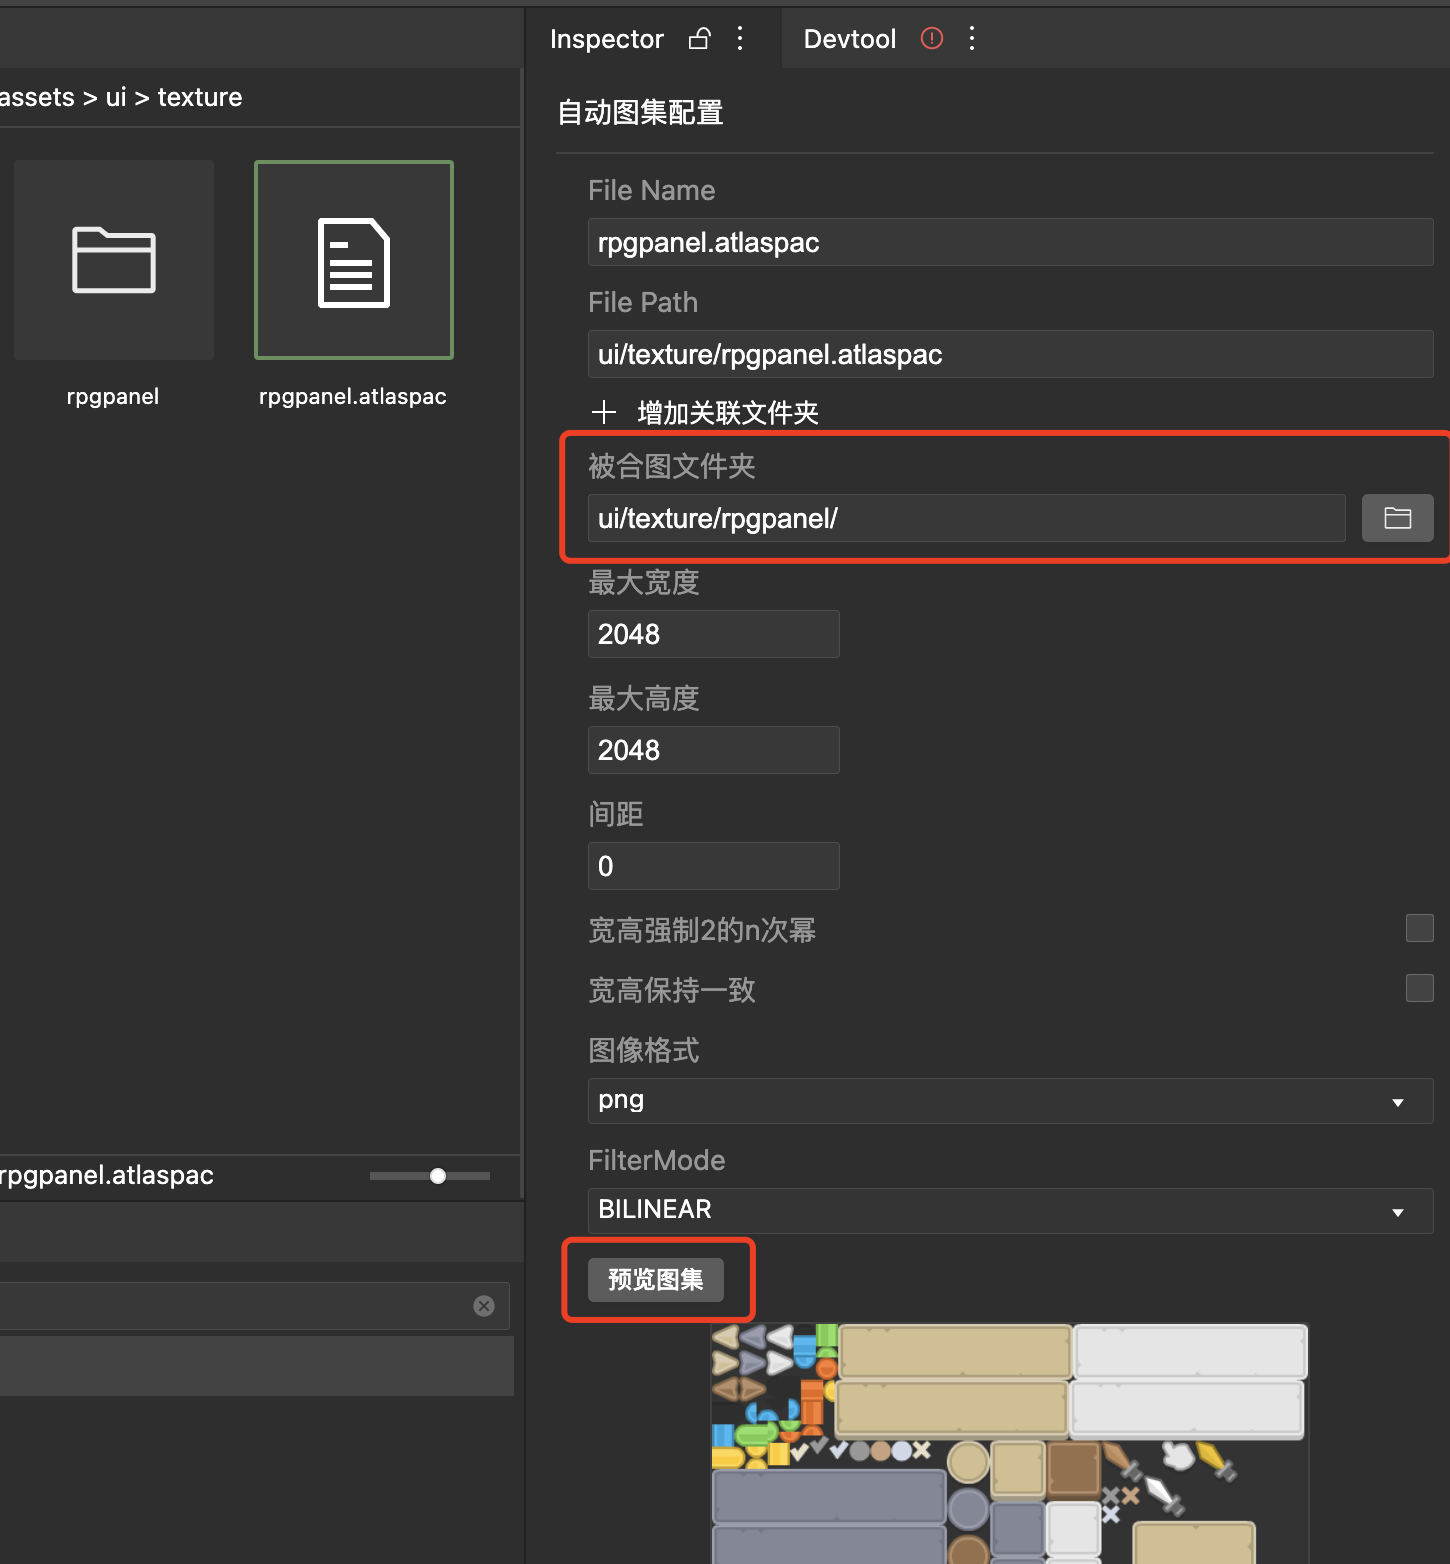
- Create a new atlas, Right click-New-Image-atlasspac
- Generate spriteframe from atlas pictures, Enter the atlas folder-select all images-select spriteframe for imageType
- The picture set is bound to the picture resource, Select atlasspac-select the desired folder to be combined
- Generate atlas,
Click to preview the gallery
# Atlasspace atlas usage
Directly use each picture slice inside the atlas
# Text resources
# TTF font production
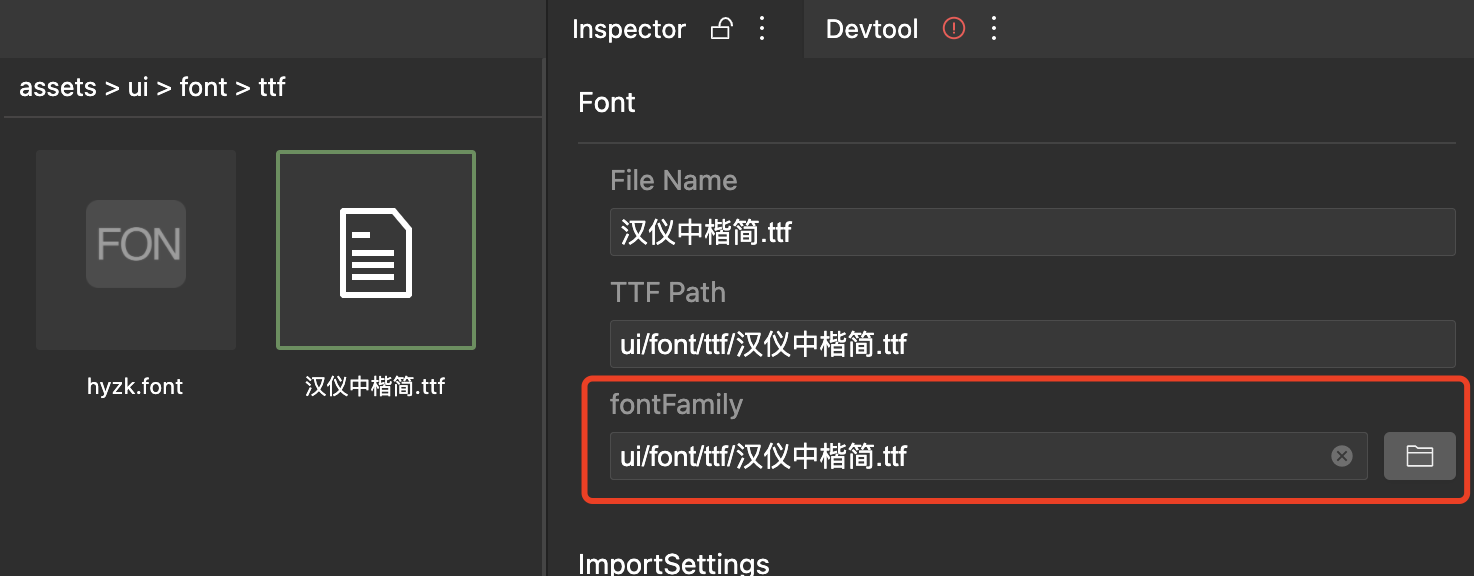
Put the text resource ttf into the project
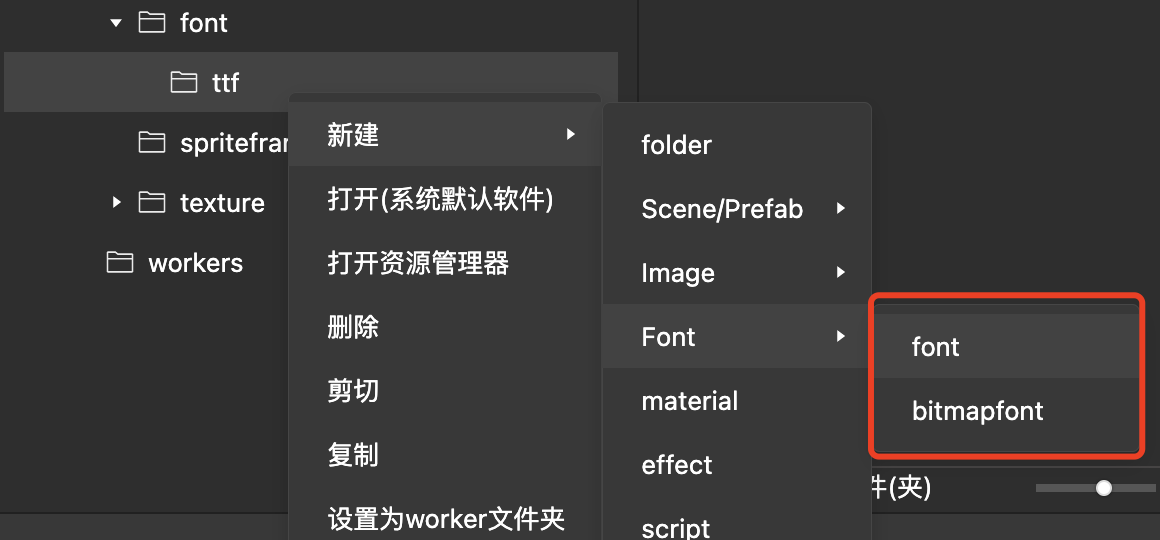
Create a new font, Right click-New-Font-font
Bind font resources, Select font-fontFamily to select the corresponding ttf
# BitmapFont Bitmap Font Making
- Create a bitmap font folder, name the bitmap font,
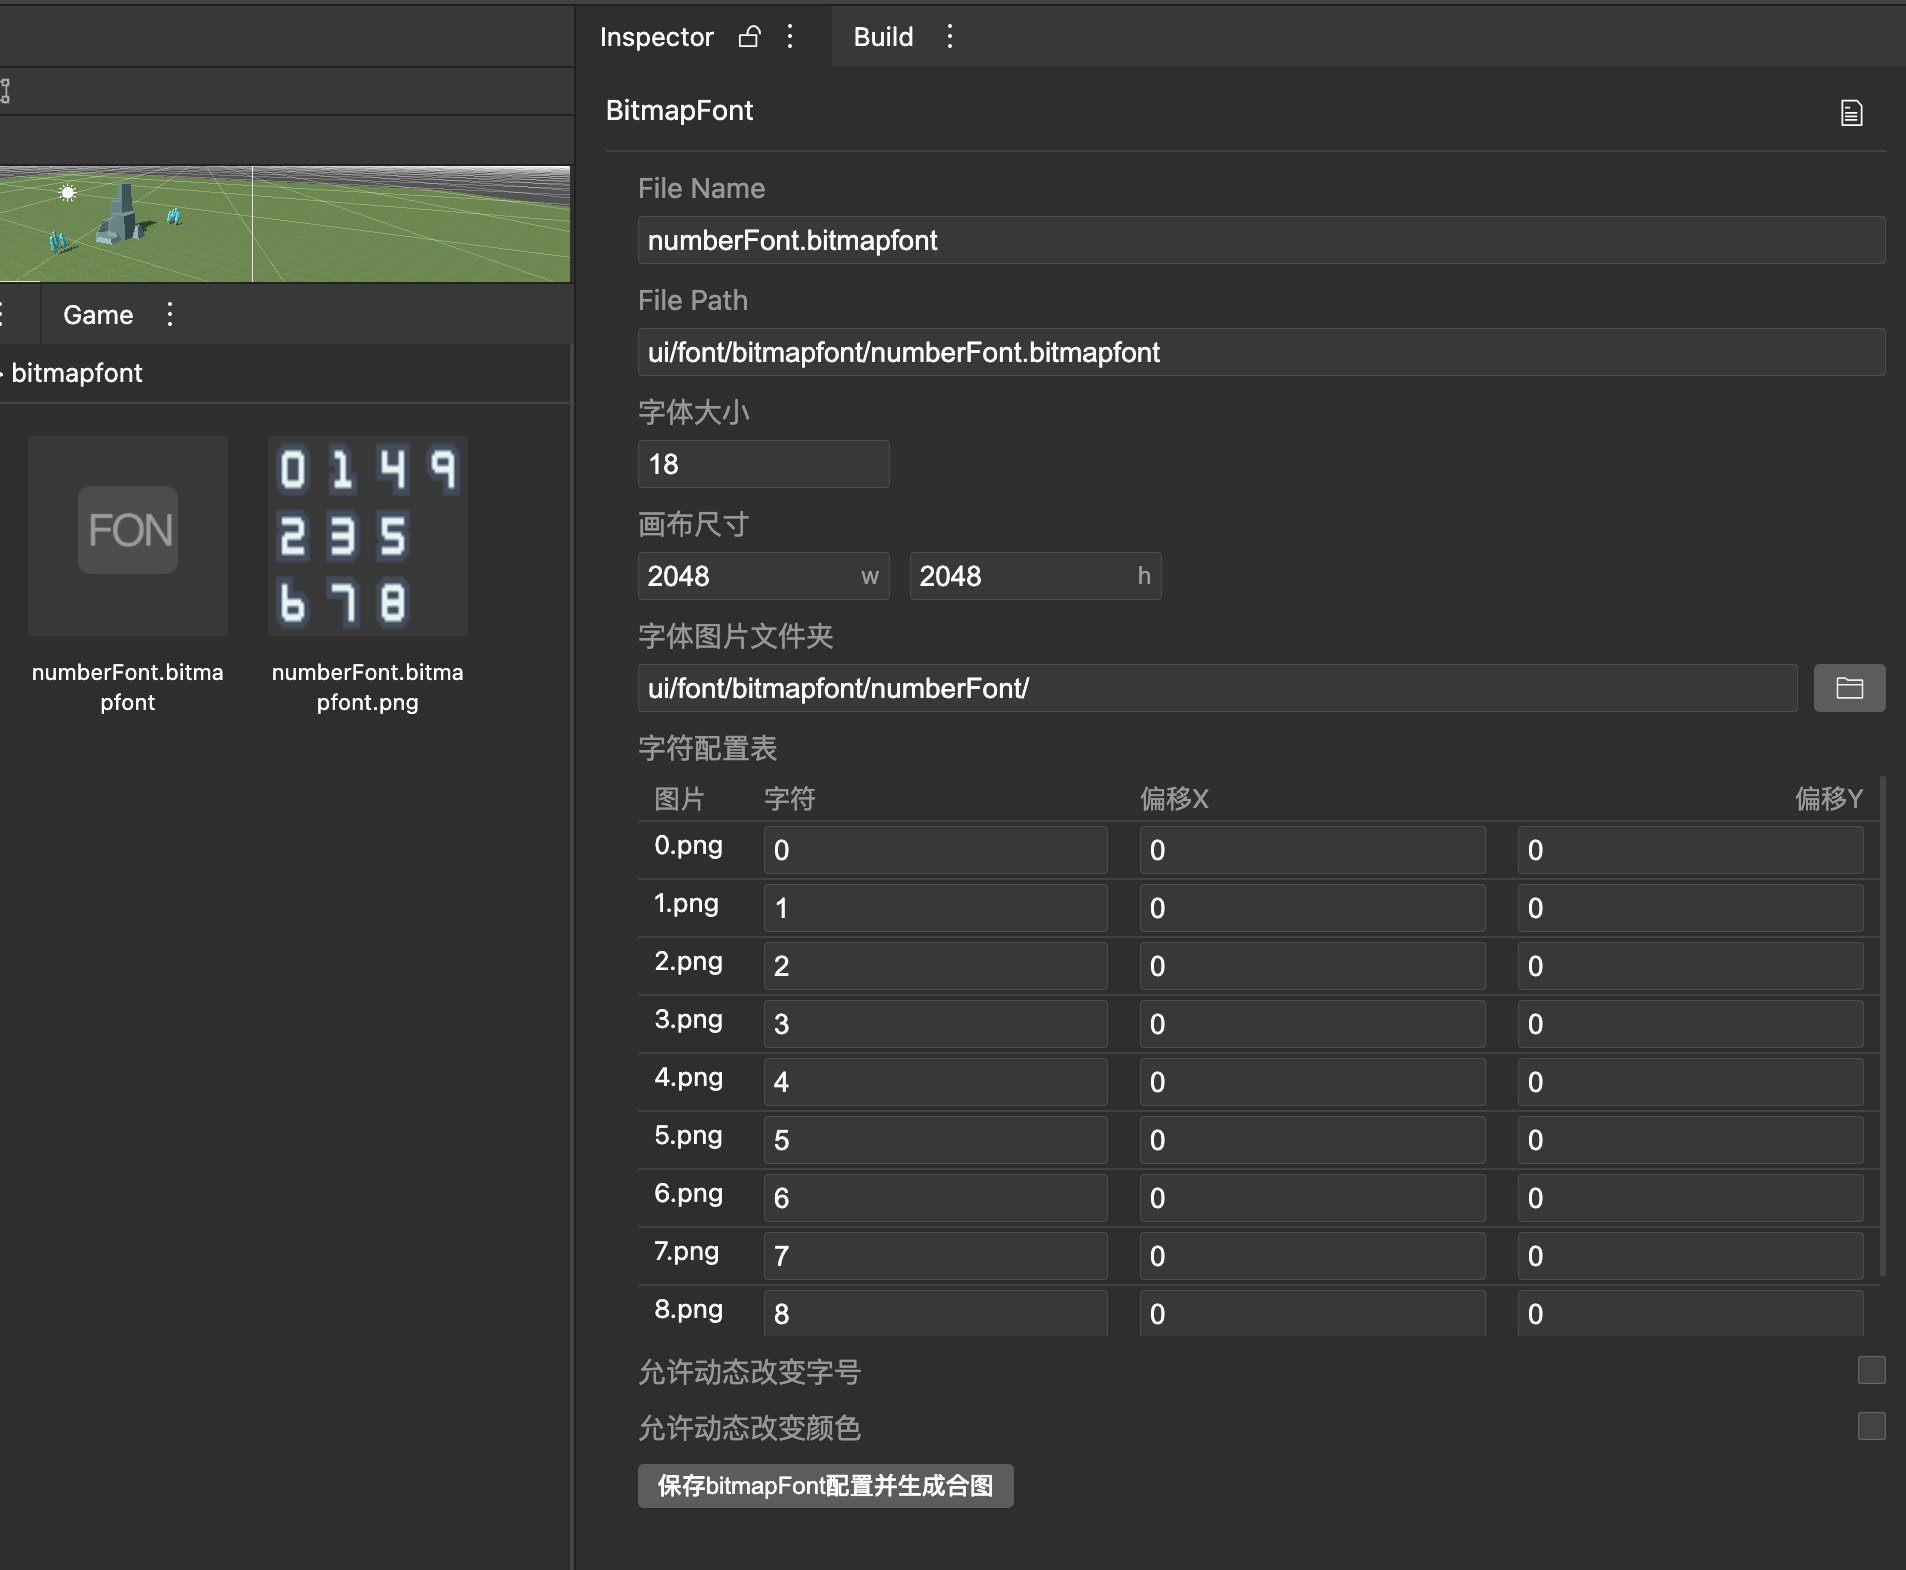
Create a new bitmap font folder, and put the required bitmap font pictures into the corresponding folder, and the merged
charactersare mapped according to thepicture naming. - Create a new bitmapFont, Right click-New-font-bitmapFont
- Generate spriteframe from atlas pictures, Enter the bitmap font folder-select all images-select spriteframe for imageType
- Bound image resources with bitmapFont, bitmapFont-select the desired bitmap font folder
- Save the bitmap font, Click to save bitmapFont configuration
- Edit the bitmap font,
Edit configuration table properties-click save bitmapFont configuration save
