# Camera
The scene is composed of nodes that mount renderers, lights and other components, and an "observer" is needed to display the entire scene, which is the camera.
# Create
The camera is also a component, so it can also be created in two ways.
# In the IDE
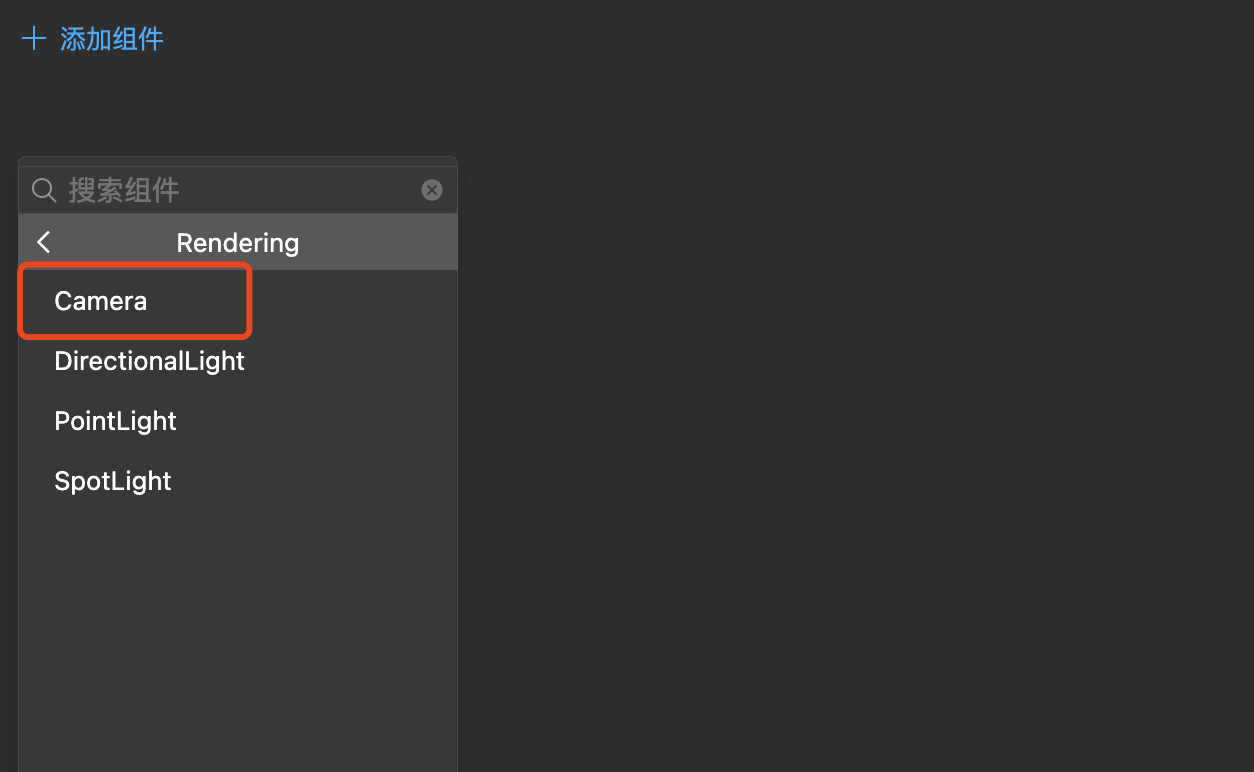
After selecting Entity, you can add in the Inspector:
# Use code
const camera = entity.addComponent(engine.Camera);
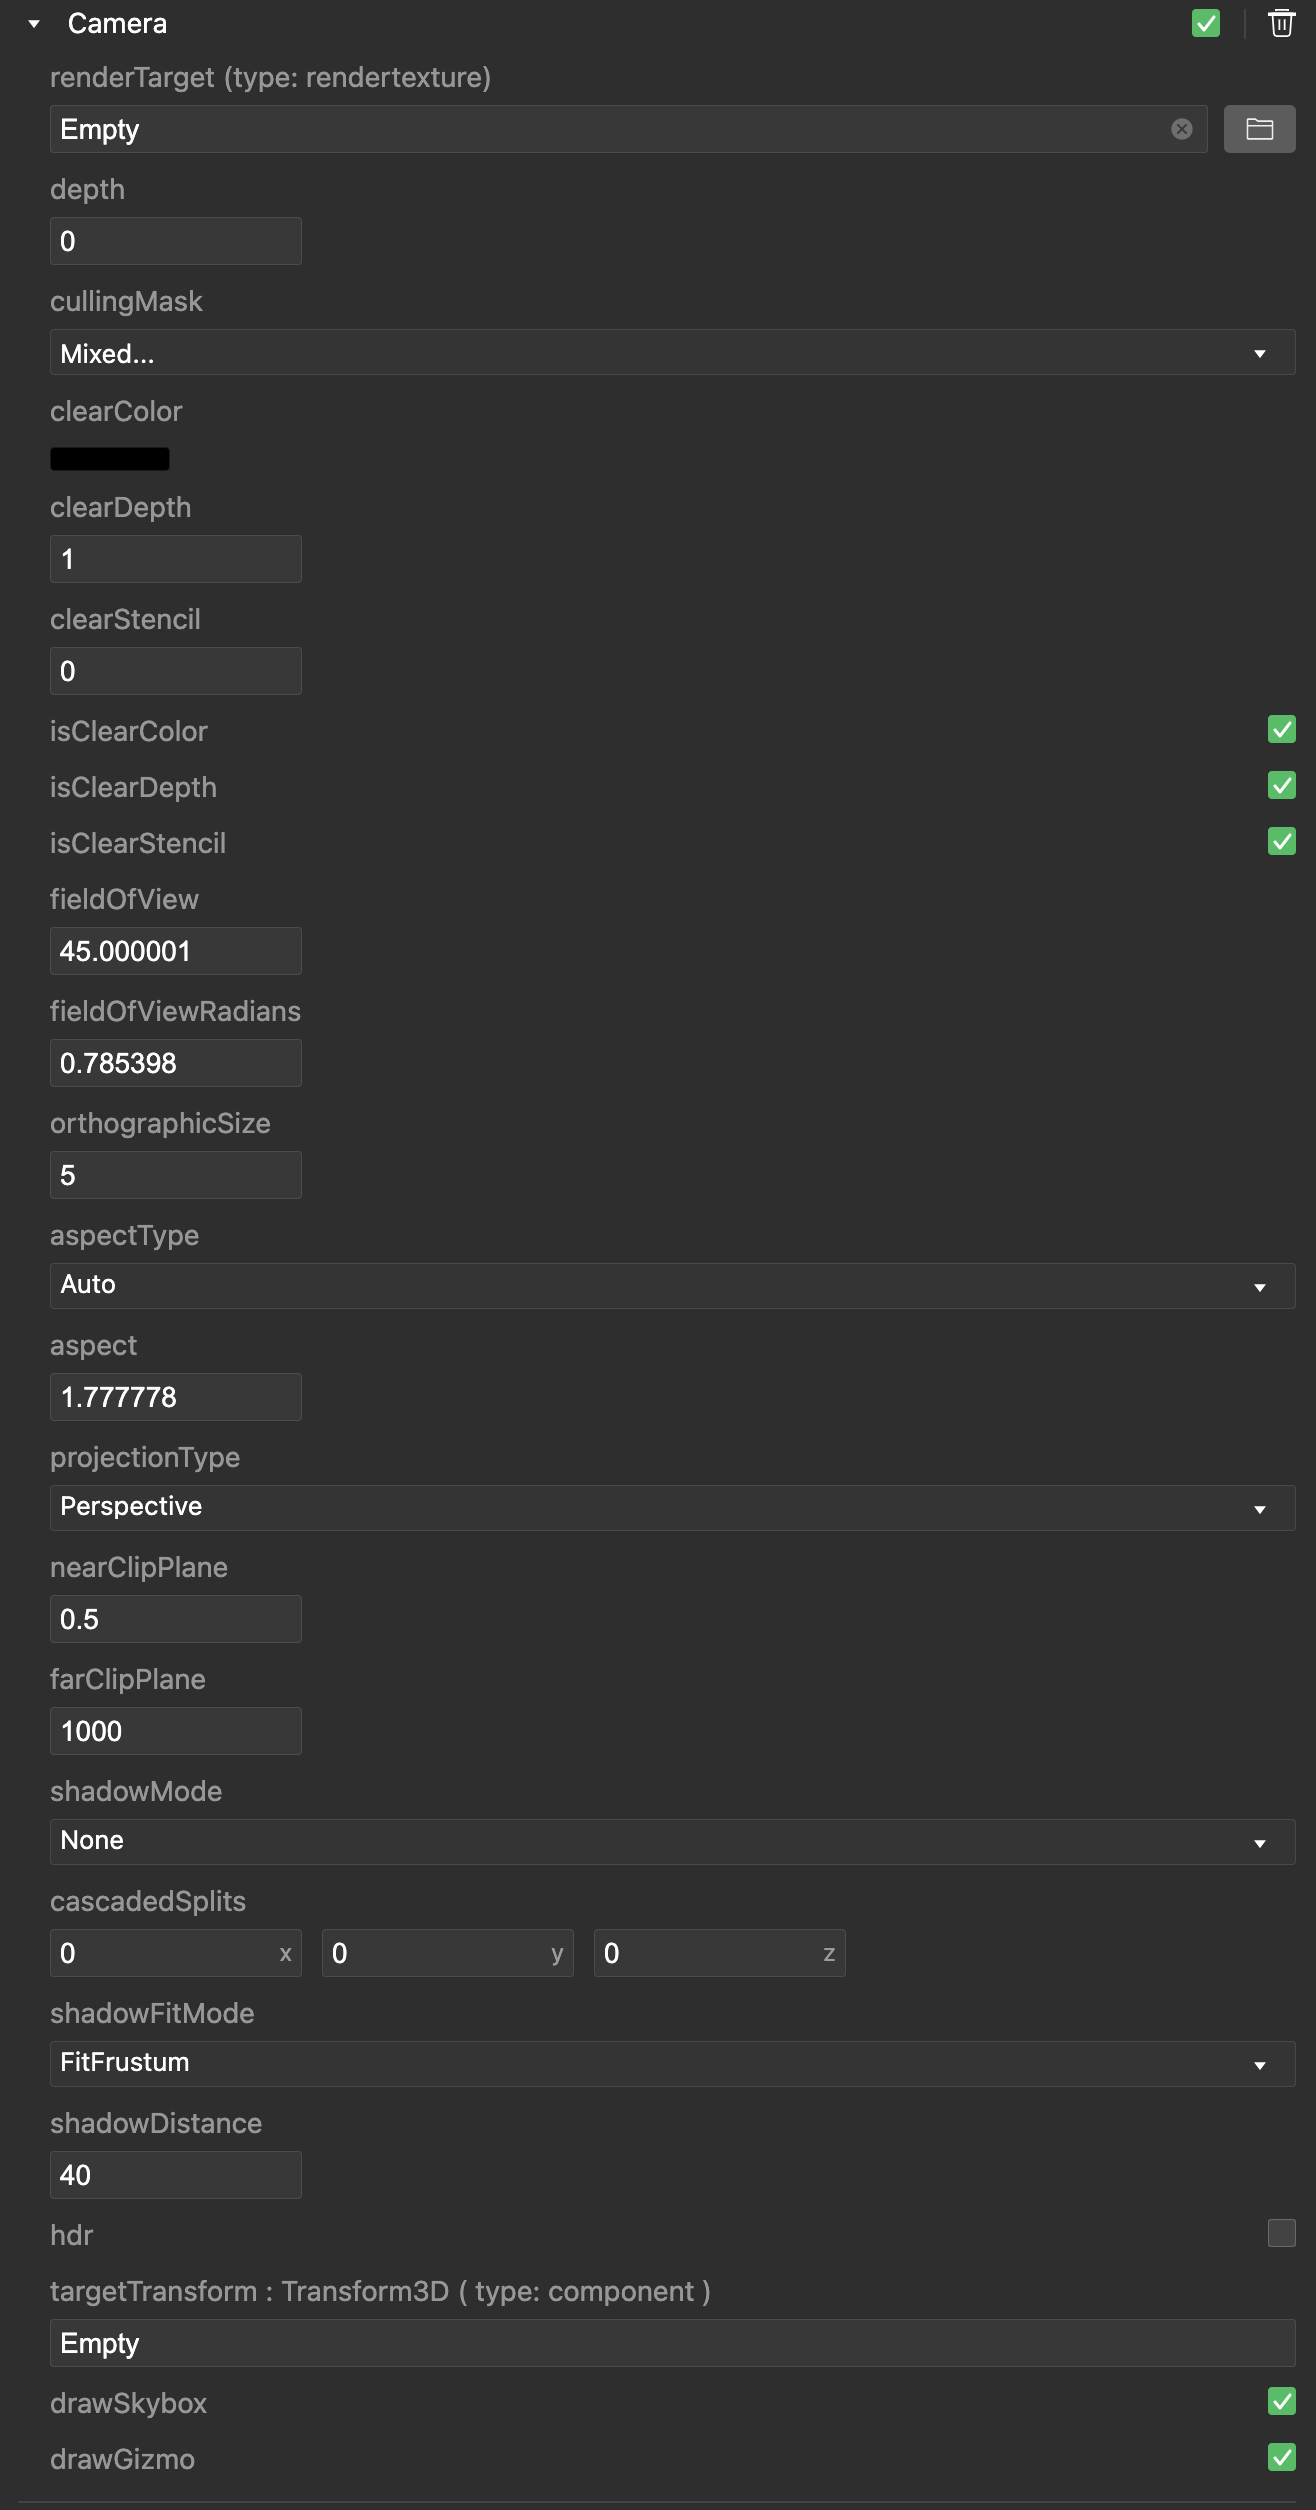
Whether it is created in IDE or code, the parameter configuration inside is the same. For example, configuring depth:0 in the IDE is equivalent to
camera.depth = 0in the code.
The actual meaning and use of each parameter will be explained in detail below.
# Projection method
The first is the projection method and its related parameters. The projection method is determined by projectionType. Currently, perspective projection Perspective or orthogonal projection Orthographic can be selected. Developers can refer to the difference between the two.
Regardless of the projection type, the following parameters are common:
- nearClipPlane: Near clipping plane, which determines how far away the camera can see recently.
- farClipPlane: The far clipping plane determines how far away the camera can see the object.
- aspectType: aspect ratio type, optional
AutoorCustom, usuallyAuto, which can adapt to the current canvas. - aspect: When
aspectTypeisCustom, the developer needs to set it by himself.
When the perspective projection mode is selected, the following parameters can be adjusted:
- fieldOfView: field of view angle.
When orthographic projection is selected, the following parameters are available:
- orthographicSize: The size of the camera's viewable range, which is the horizontal size, and the vertical direction will be converted according to the
aspect.
# Custom matrix
Essentially, the projection method and the parameter method determine the projection matrix, and the change information (Transform) of the node where the camera is located determines the view matrix. This basic concept will not be repeated here. Generally speaking, it is automatically calculated by the small game framework. . But in some advanced requirements, such as the rendering requirements of water surface refraction projection, it is indeed possible to customize the projection method or even customize the calculation of the view matrix. In order to solve this demand, the small game framework provides a solution.
// Modify the projection matrix
camera.changeProjectMatrix(manual, matrix);

// Modify the view matrix
camera.changeViewMatrix(manual, matrix);
These two methods can be used to modify the projection or view matrix. The first parameter manual is used to control the opening or closing of the manual mode, and the second parameter is the matrix value to be set.
# Render target and view
Knowing the objects to be spent and how to project these objects onto the plane, you also need to know what to draw these objects on. This is the renderTarget renderTarget.
renderTarget, namely render canvas resource, configure a canvas resource to this parameter, if not configured (empty), it will be rendered on the main screen, corresponding to the code Here is:
camera.renderTarget = game.renderSystem.screen;
Once you have a render target, you need to know how to render to it. This is the view. The view matrix is mentioned above, but that view is completely different from the view here, which is mainly determined by several parameters:
- isClearColor/clearColor: Set whether to clear the color of the rendering target before drawing, and what color to clear.
- isClearDepth/clearDepth: Set whether to clear the depth of the render target before drawing, and what depth to clear.
- isClearStencil/clearStencil: Set whether to clear the template value of the render target before drawing, and what template value to clear.
# Depth and mask
In addition to determining which objects to be rendered by frustum culling, a direct and accurate culling scheme is also needed, which is the cullingMask. Click the drop-down box of cullingMask:
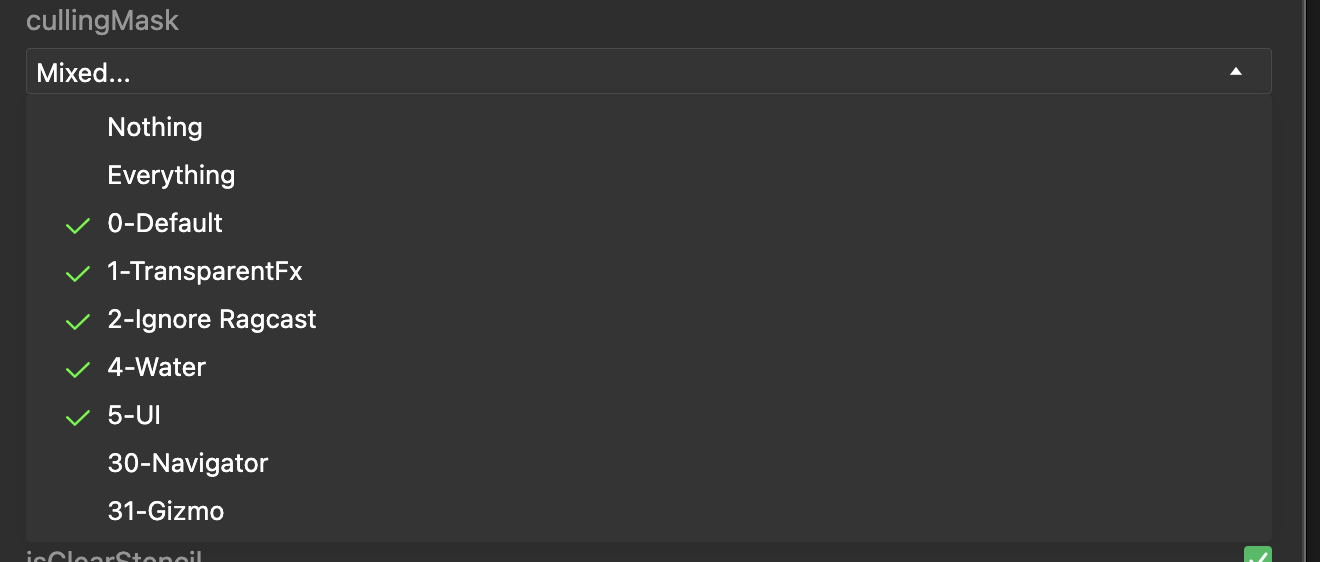
It can be seen that there are many options, and these options correspond to the Layer of Entity. This is actually a culling strategy. When the two do not intersect, the corresponding object will no longer Appears in the culling result of the camera.
In addition to single-camera rendering, there are many cameras in many cases, and there may be a certain order between them. At this time, you can use depth to adjust the order, the larger the rendering order, the lower.
# Shadow
The camera can also configure shadow-related parameters. When there is parallel light in the scene and the shadow is turned on by the parallel light, the parallel light can generate shadows through the renderer with shadowCaster turned on:
- shadowMode: shadow rendering type. The small game framework uses CSM to improve the quality of shadows. This scheme is divided into three levels,
Noneis not turned on, followed by level 1, level 2, and level 4. The higher the level, the better the quality. , But the greater the performance overhead. - cascadedSplits: used to adjust the basis of each level of CSM division.
- shadowFitMode: temporarily invalid.
- shadowDistance: Determine the distance of the object that can produce shadows farthest from the camera.
# Follow the target
The mini game framework integrates the basic camera follow control capabilities by default, just configure targetTransform:

As shown in the figure, another Entity is designated to follow the target, and then the camera will face this node when it moves.
# Other configuration
In addition to the above, there are some other configurations:
- drawSkybox: Whether the camera wants to draw a skybox.
- drawGizmo: Whether the camera needs to draw a Gizmo.