# Effect and material
Material is an abstraction used to describe how an object is drawn. Its main purpose is to provide an interface for the artist. The artist can use this interface to modify the surface properties of the object, such as color, texture, roughness, etc., and the renderer You can use these data to faithfully restore the artist's motives.
In order to make the material more universal, the game framework abstracts another concept called "Effect", which can be considered as a material template, through lighting modes lightMode and ** Macro definition definition** to switch various functions of the template.
# Effect-Effect
In the actual rendering process, the object is actually rendered by the shader mentioned in the previous chapter. It is also mentioned that the lighting mode and macro definition can be used in the shader to distinguish different branches. The effect, namely engine.Effect, is based on shaders and adds some other managers that can manage rendering effects.
# Create Effect
In the shader section, we have actually created an Effect, but at that time we focused on describing the shader itself. After writing the shader, you can focus on the .effect file itself, and open this file with an editor. visible:
{
  "shaderProperties": [
    {
      "key": "_Color",
      "type": "Vector4",
      "default": [
        1,
        1,
        1,
        1
      ]
    }
  ],
  "textures": [
    {
      "key": "_MainTex",
      "type": "Texture2D",
      "default": "white"
    }
  ],
  "defaultRenderQueue": 2000,
  "passes": [
    {
      "lightMode": "ForwardBase",
      "vs": "./custom.vertex.hlsl",
      "ps": "./custom.pixel.hlsl",
      "multiCompile": [
        [
          "USE_INSTANCING",
          "__"
        ],
        [
          "USE_FEATURE_A",
          "USE_FEATURE_B"
        ]
      ],
      "compileFlags": ["Fog"],
      "useMaterialRenderStates": true,
      "renderStates": {
        "blendOn": false
      }
    }
  ],
  "editorInfo": {
    "assetVersion": 2
  }
}
Obviously, this is actually a json, and developers can edit the content to customize an Effect.
# Configure Passes
The first is passes, which defines how many renderable Pass have this effect. Pass can be understood as a batch of rendering. All objects that enter rendering can be in a Pass according to a specific state. Render it again. If there are multiple Passes, they can naturally be rendered multi-sided, and the most important thing to determine whether a certain batch of rendering should use certain Passes is lightMode.
lightMode is the lighting mode, which is a parameter for developers to distinguish in which mode the same object will be rendered. Built-in ForwardBase, ForwardAdd, ShadowCaster, etc., development with certain graphics programming experience The reader is no stranger to these. In fact, in the actual rendering driver, each batch of rendering is always for a certain type of lightMode, and in the built-in pipeline to be mentioned later, there will be a by default. The order of ShadowCater -> ForwardBase -> ForwardAdd. Of course, there can be multiple Passes using the same lightMode, in this case, they will all be rendered in the same batch.
After determining the lightMode, you need to specify the shader used by the Pass. The shaders are divided into the vertex shader vs and the pixel shader ps. This has been discussed in the Shader section.
# Configuration macro definition
There will be multiCompile and compileFlags in each Pass. These indicate macro definitions. They will not only affect the corresponding macro in the shader, but also affect the generation of variants.
Variation, that is, different final codes generated by the shader under different macro switch combinations, such as this piece of shader code:
#ifdef USING_BLACK
    return float4(0, 0, 0, 1);
#else
    return float4(1, 1, 1, 1);
#endif
There is a macro USING_BLACK, then applying or not applying this macro will generate return return float4(0, 0, 0, 1); and return float4(1, 1, 1, 1); Code, these are two variants.
To understand what a variant is, you must know how to use a macro to generate a variant. Let's define the variant in this example Effect:
"multiCompile": [
  [
    "USE_INSTANCING",
    "__"
  ],
  [
    "USE_FEATURE_A",
    "USE_FEATURE_B"
  ]
],
"compileFlags": ["Fog"],
multiCompile is used for user-defined macros. Each element is an array. The strings in the array represent which combinations can be combined to generate variants. For example, in the second element, USE_FEATURE_A is defined And USE_FEATURE_B can be combined to generate variants, and the __ in the first element means that the macro USE_INSTANCING will generate variants separately.
compileFlags means a built-in variant of the mini game framework. For example, the built-in Fog is used here. After opening, you can use APPLY_FOG(In, outColor); in the shader to apply fog.
Note that this is only configuration which macro definition a certain Pass supports, and the actual switch is determined by the three parties global, object, and material, developers generally only need to control the following The material part discussed, of course, may also have advanced requirements, then you can refer to Renderer and Rendering System ) The relevant part.
The supported built-in variants can be found in the appendix at the end of the article.
# Configure rendering status
For Pass, the most important ones besides macros are renderStates and useMaterialRenderStates.
renderStates is the rendering state as the name implies. The rendering state directly corresponds to a series of concepts provided by the underlying graphics API, such as blending blend, depth depthTest, etc. For example, the example defines blendOn: false, which means that you want to* Turn off mixing*.
All the supported rendering states can be found in the appendix at the end of the article. I won't go into details here. I will mainly explain a rule, that is, the function of the parameter useMaterialRenderStates.
In the design of the small game frame, the rendering state is the default value is determined by Effect, and the final value is determined by Material, and useMaterialRenderStates is used to determine whether Material can override the default value of Effect, if it is false , The default value provided by Effect is always used. If it is true, it is determined by the rules of the rendering state of Material mentioned below.
# Configure UniformBlock
In addition to Pass, the other part of Effect is the shaderProperties and textures, which determine which Material dimension Uniforms can be used by each shader of this Effect, and this is basically defined in the alignment shader The cbuffer Material, in this example, we define:
"shaderProperties": [
  {
    "key": "_Color",
    "type": "Vector4",
    "default": [
      1,
      1,
      1,
      1
    ]
  }
],
"textures": [
  {
    "key": "_MainTex",
    "type": "Texture2D",
    "default": "white"
  }
],
All texture typesUniforms are written in textures, and the others are written in shaderProperties. In the example, a Vector4 vector named _Color is defined, and the default value is 1,1 ,1,1, and then define a texture named _MainTex, the type is Texture2D, and the default value is the built-in white.
The corresponding cbuffer defined in the shader is:
cbuffer Material
{
float4 _Color;
float4 _MainTex_ST;
}

DECLARE_TEXTURE(_MainTex);
The supported Uniform types and available default values can be found in the appendix at the end of the article.
# Render Queue
It is defined by defaultRenderQueue and will be discussed in detail in the Material section below.
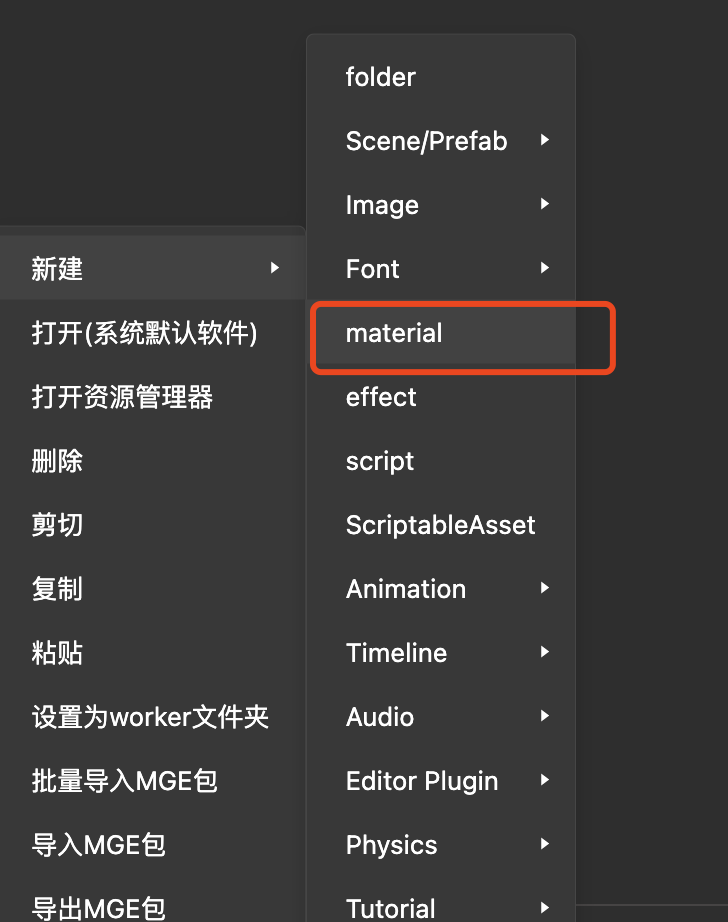
# Material-Material
With Effect, you can create Material. Unlike Effect, Material is generally created in IDE:
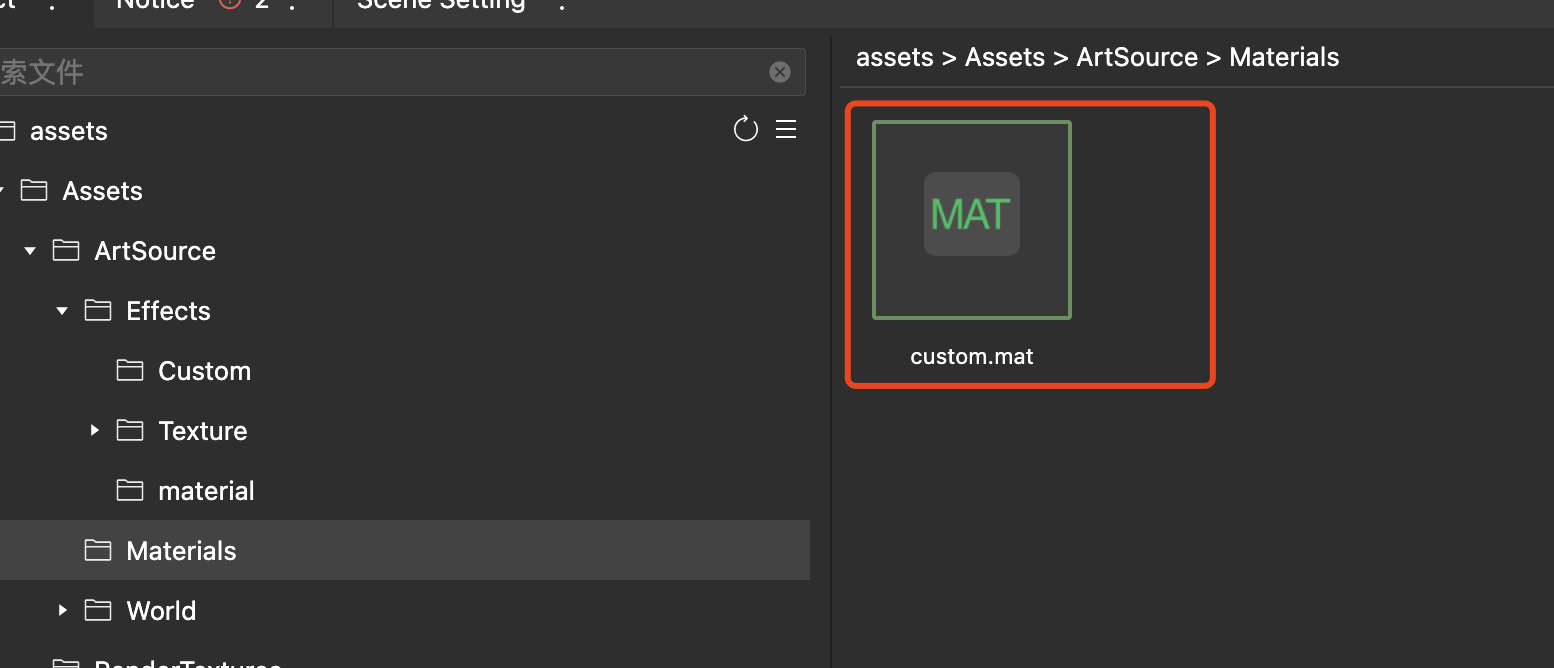
After the creation is complete, there can be some properties for us to configure in the Inspector on the right.
# Effect related
The first is Effect. I said before that Effect can be considered as a kind of material template, then Material can be considered as an instance of Effect, so we must first specify the Effect to use:
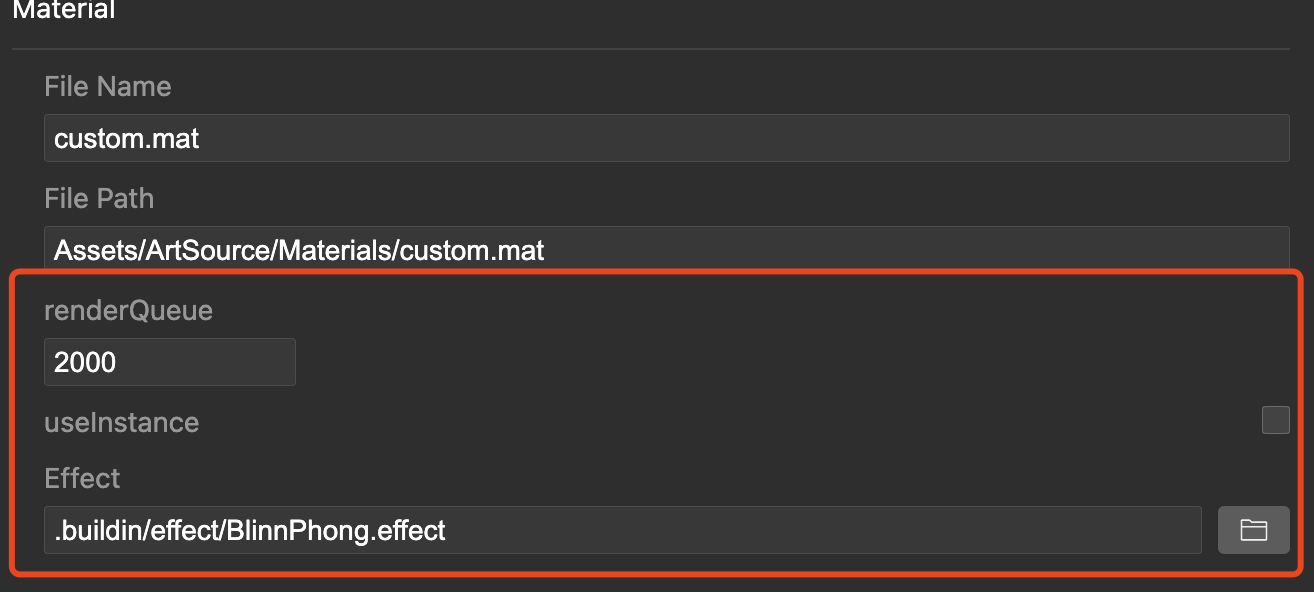
In the Effect column, we can choose the Effect we need to use. If we want to create it ourselves, we have to choose Local Effect, and then select it in the pop-up window. Here I chose the one created just now.custom.effect:

In this way, Material uses the effect just now. After setting Effect, there are two other options renderQueue and useInstance.
renderQueue is the rendering order, which determines the order in which the objects using this Material will be rendered. The larger the value, the later the order. This value comes from Effect's defaultRenderQueue by default.
Note that objects with
renderQueue >= 2500are transparent objects, which will affect the rules of ordering objects according to depth.
The useInstance parameter determines whether the object using the material can be instantiated by GPU.
GPU instancing (Instancing) is a technology used to improve rendering performance. It can draw a large number of objects in a batch, but the Mesh and Material of the objects are required to be "completely consistent".
Checking useInstance is simple, but it does not mean that the object can really be instantiated. Many constraints need to be met. For details, see GPU instantiation.
In addition to custom effects, the small game framework also provides many built-in effects. For these built-in effects, please refer to the appendix at the end.
# Macro definition
In Effect, we introduced that you can define some macros in Effect to use. And the opening of some of the macros can be completed in Material, in I